Thank you to Jessica from Fresh-Squeezed Flair for sharing a great project with us – it’s a Heat Transfer Vinyl tutorial. She outlines it so well that it makes it very easy to follow along and create your own t-shirts (or anything else you can put Heat Transfer Vinyl (HTV) on!
Today I am going to teach you one of the coolest thing about owning a Silhouette Cameo: you can make your own t-shirts! (How cool is that??) Like I said before, I think we’ve made more shirts for my husband than anything else! First I will start with the items you need:
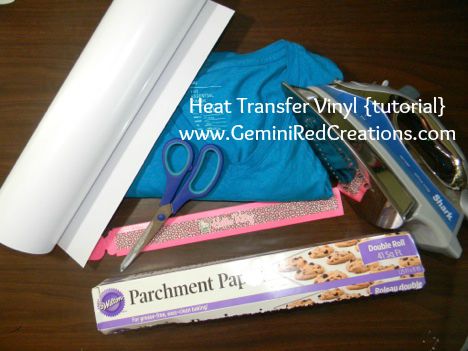
Items you need to make your own shirt:
- Cameo
- HTV (heat transfer vinyl) **Expressions Vinyl is a great resource
- blank shirt
- ruler
- scissors
- iron or heat press
- parchment paper
- tweezers
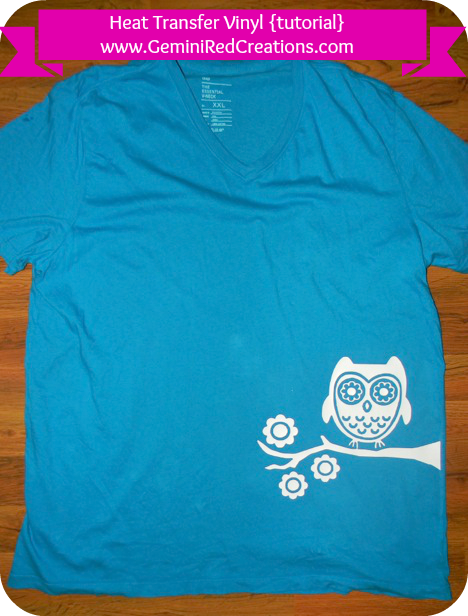
I am making this shirt for a friend, and she requested this owl design, so this is what I am working with today. Whatever design you choose to use, open that up in the Silhouette Studio.
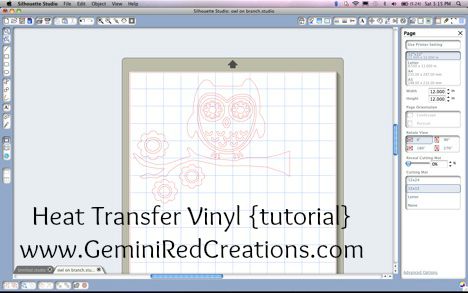
I like to measure the shirt and decide how big I want the design and where I am going to place it (I sometimes ask for second opinions since my husband is a “shirt guru” and loves to help with scaling). When you decide how big you want the design, go back to the Studio and size accordingly. For this purpose, I love keeping a grid up in the Studio so I can easily count the inches! After I adjust the size in the Studio, I cut my piece of vinyl to fit the image.
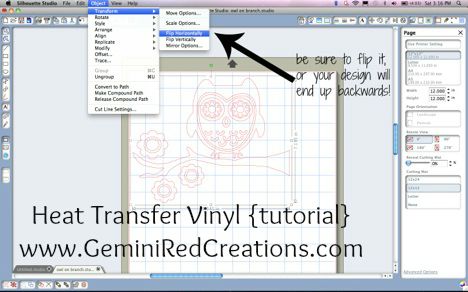
The next step is also VERY important. You always have to flip your image, or else you will end up with a backwards design.
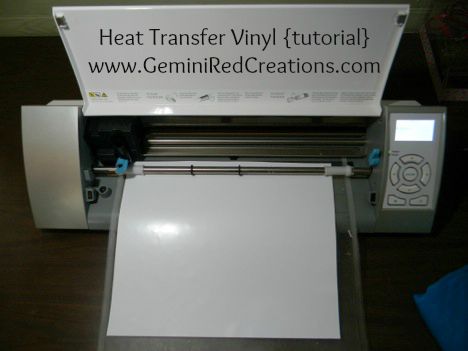
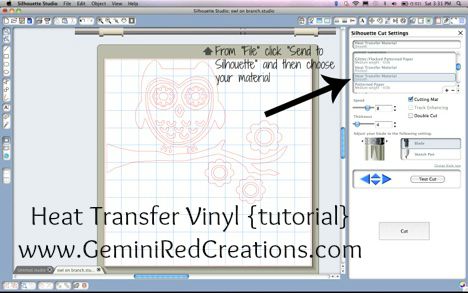
Choose the material you are cutting (I choose smooth, but if you are cutting glitter HTV, flocked has always worked perfectly for me). Make sure you adjust your blade accordingly!
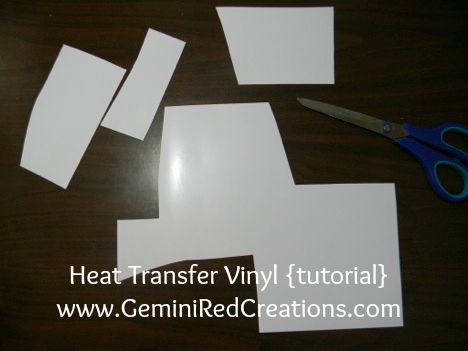
Viola! Cut design! You can’t see the image very well unless you look up close. I like to cut out the big pieces that aren’t cut and keep them for scraps (you never know when you need to cut those small designs).
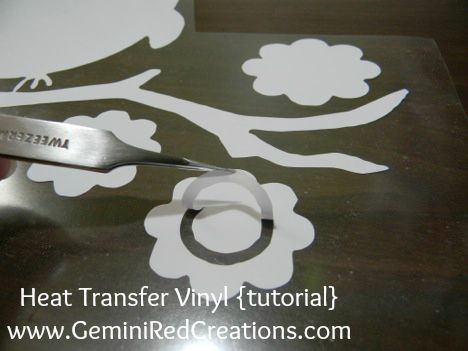
The next step is to peel away the pieces you don’t need (this is called weeding).
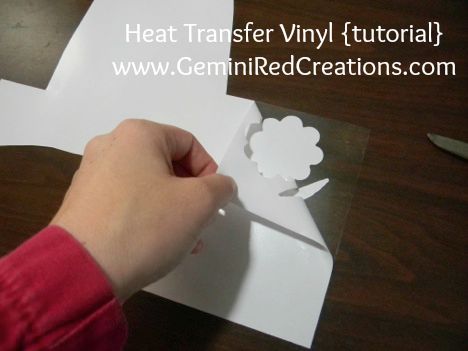
I use very sharp tweezers for this part and I love the way they work.
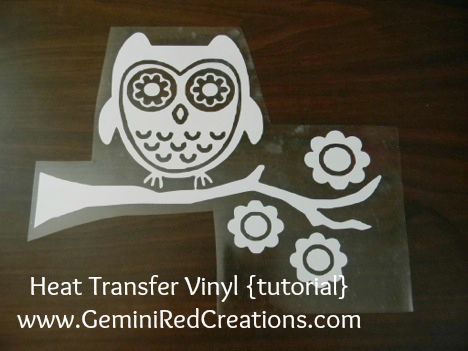
Now the design looks recognizable! How cute?!?
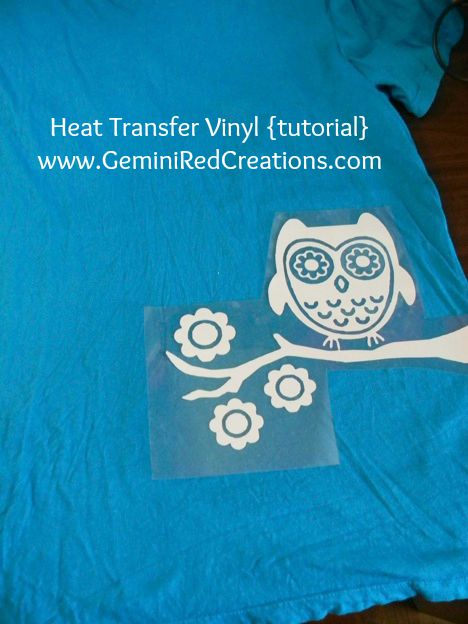
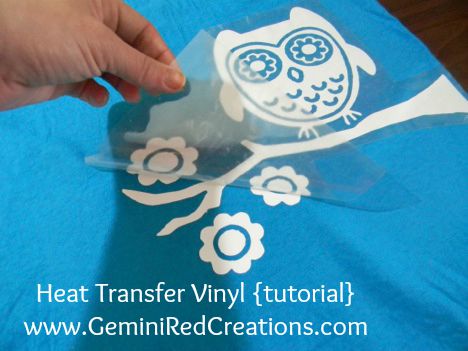
The backing to this HTV is sticky (which I personally like, others may have different preferences). This allows me to place the design where I want it on the t-shirt (this is another time I ask for advice since my husband loves to help with placement) and not have to worry about it moving around. Being that it’s sticky, you can even lift the shirt up and look in the mirror to be sure you like the placement.
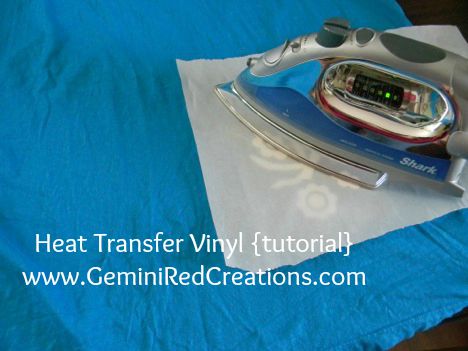
The next step is to put a piece of parchment paper over it and press down with an iron (on high – cotton setting) for about 15-20 seconds using all of your weight on it. DO NOT iron on an ironing board, use a hard, flat surface. Some people skip the parchment paper, but I feel more comfortable using it. If you don’t have parchment paper, you can also use a thin pillowcase or thin piece of fabric. Just be careful what you use, because if the fabric hasn’t been washed it can press the dye into your shirt (wanna ask me how I know that, haha).
Now you get to peel off the clear backing to reveal your awesome shirt! I like to place the parchment paper back over the HTV and hit it with the iron a little more to ensure it’s really “stuck.” (My husband always likes to check for the fabric indentations in the vinyl).
Woo hoo, you’re done!! Isn’t that cool??
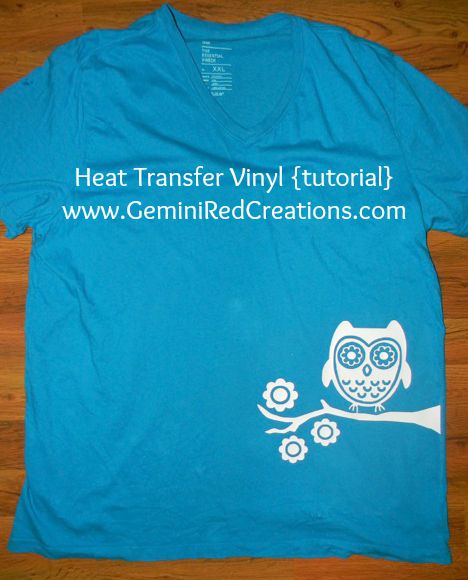
If you are new to using a Silhouette Cameo – are you ready to make a t-shirt?
![]()