
It’s Halloween season and, this is just one of many great tutorials I have for you. Thanks, once again, to my friend Jennifer V who is so great at woodworking and sharing her talents with the rest of us! This time, with Halloween upon us, she is sharing a fun wooden ghost tutorial. Jennifer is even using the saw in these pictures – come on girls – anyone can use a saw! Don’t be afraid of the “boy’s toys!”
You will need:
-A piece of wood
-A stencil
-Paint
-Sharpie marker
-Silhouette Cameo (optional)
-Stain (to age it a little bit. What’s a fun project without a little faux aging?)
– A rag to apply the stain (I like the wiping cloths from Home Depot – they’re cheap and they work great!)
– Last but not least, something to cut the wood with! A jig saw or scroll saw would both work.
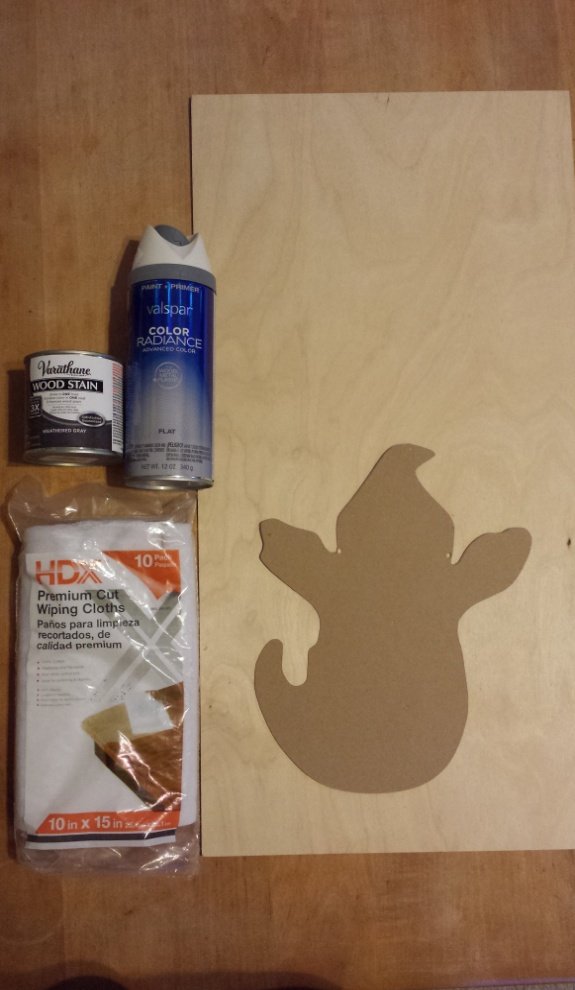
First, you have to pick what shape you want. I love happy ghosts during Halloween, so I chose a cutesy ghost that I found online. I used my Silhouette Cameo to cut the shape out on chipboard (a thin cardboard type material – great for stencils like this!). If you don’t have a Silhouette Cameo, I’m very sorry for you. Just kidding! If you don’t have a Silhouette Cameo, you can just cut it out by hand 🙂
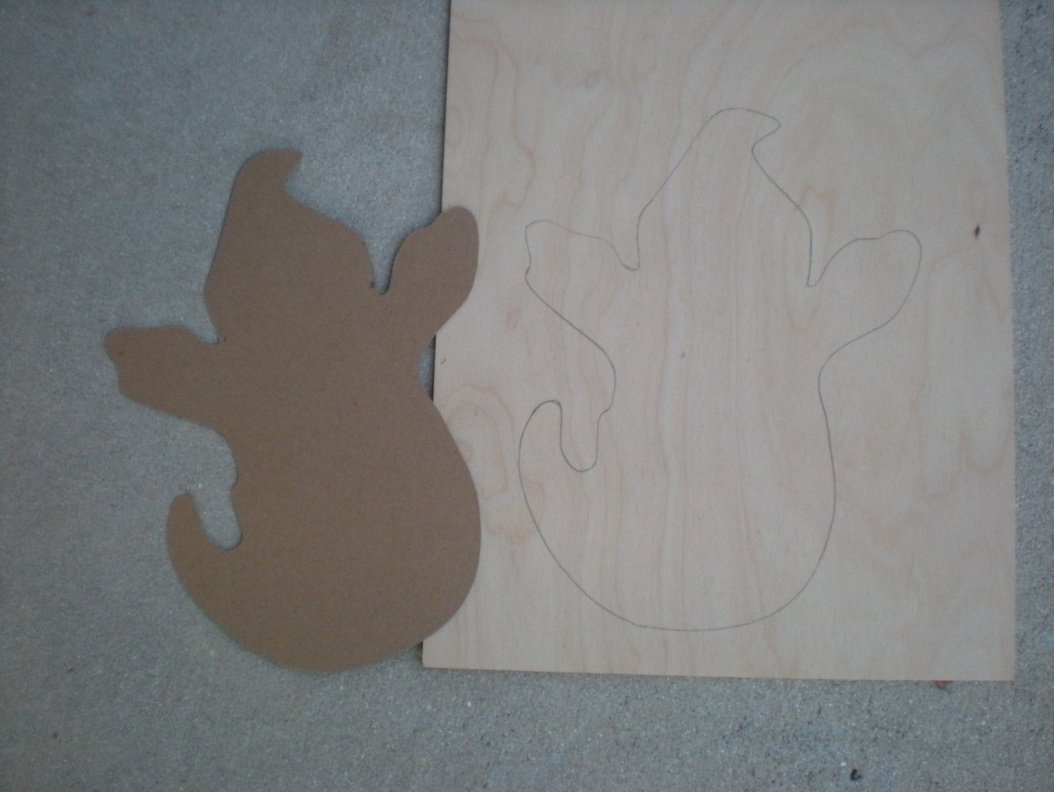
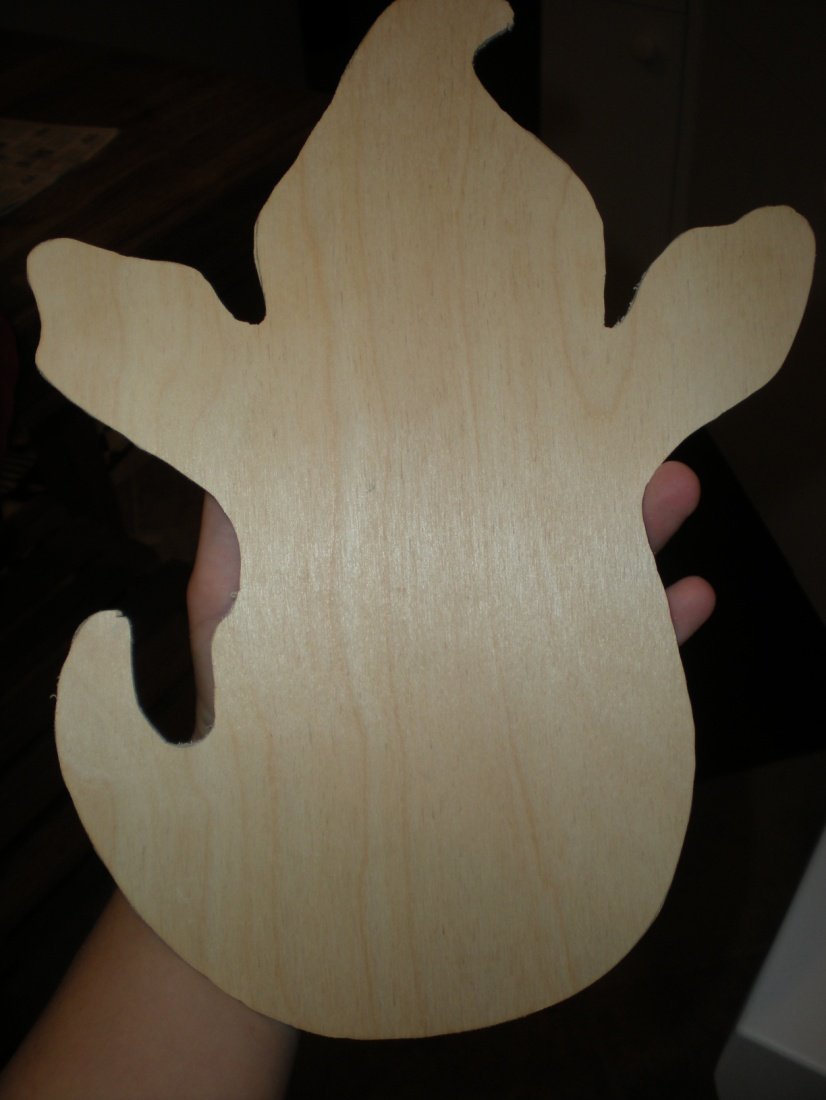
After you’ve got your stencil cut out, trace it onto your wood. I chose to trace with a pencil so I could erase any pencil lines that are visible after cutting (in the VERY SLIM chance that I wouldn’t cut perfectly 😉 ) I also chose very thin craft wood for this project that you can purchase at any craft store. It’s cheaper and easier to cut.
The next step is cutting the shape out. I chose to use my scroll saw because…well, because I love it. When using a scroll saw, always use protective goggles in case you get any crazy wood particles taking flight. Also, make sure your scroll saw is bolted down so it doesn’t vibrate. If you don’t know how to use a scroll saw, no worries – I’ll do some tutorials in the future!
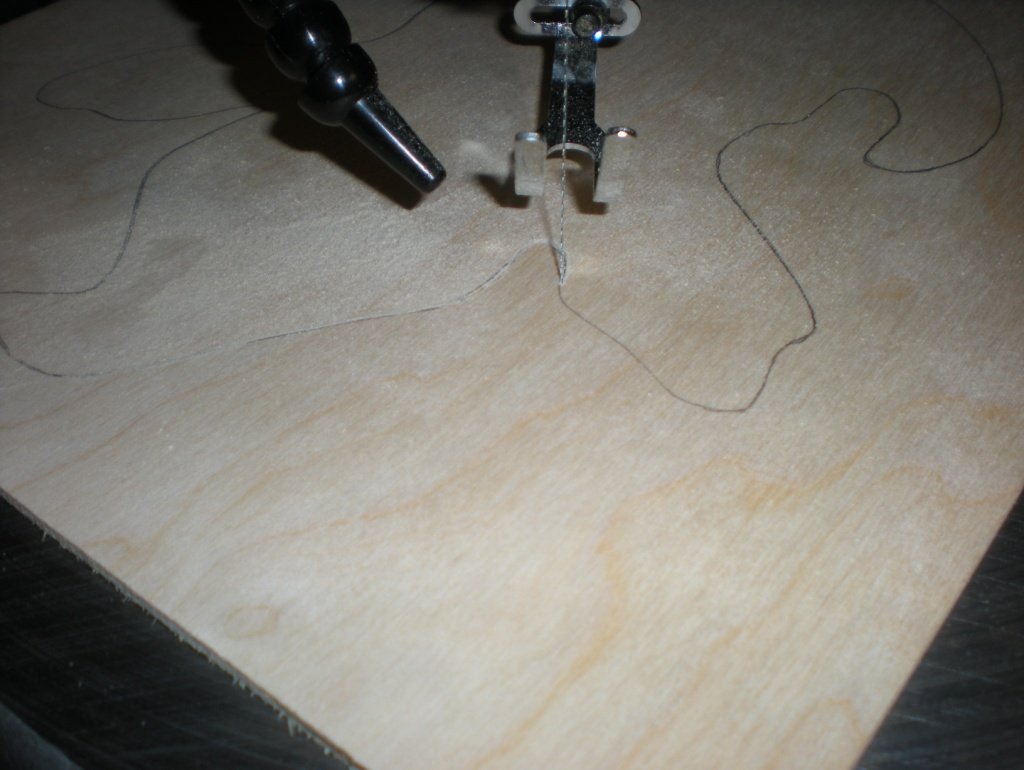
Here I am cutting my cute little ghost out! 
Here’s a close up of how the blade should meet up with your lines
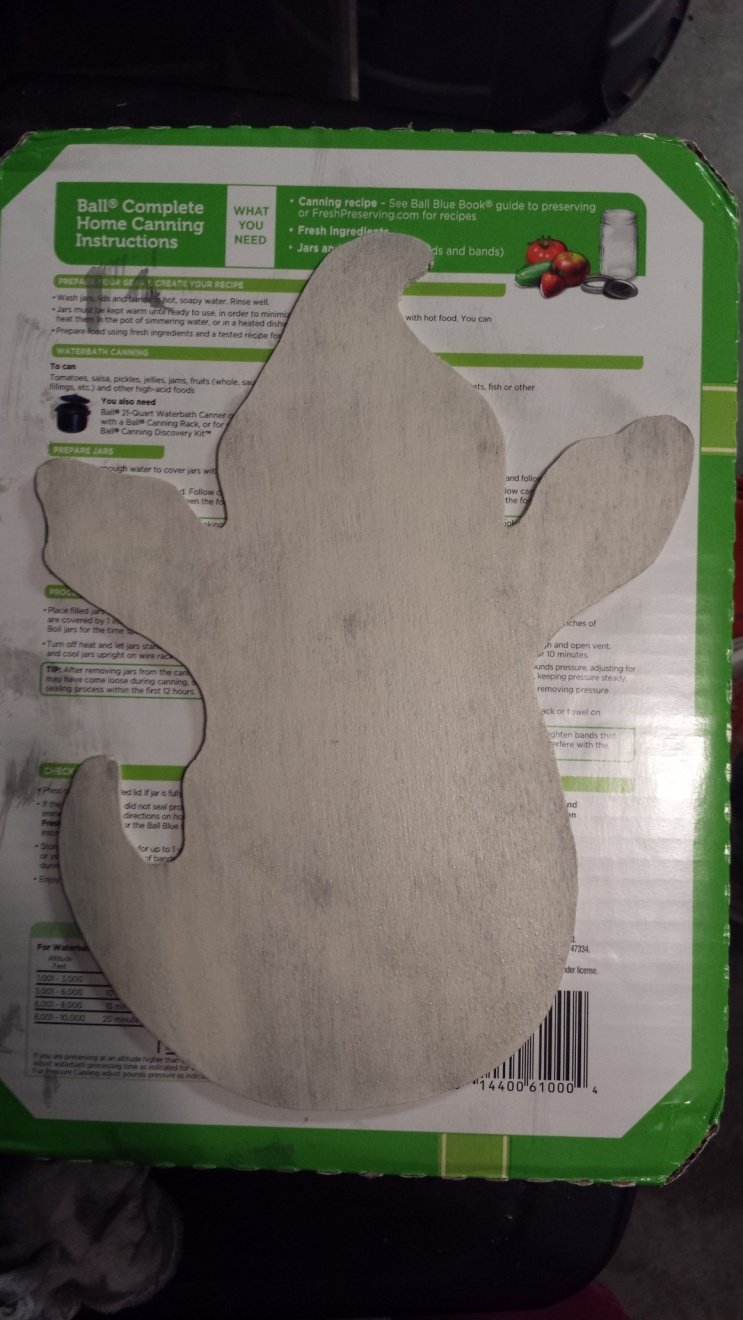
Once your shape is cut out, you can sand the edges to smooth out any rough spots. This is where you can also erase any pencil marks that are left. This picture is before I sanded or erased.
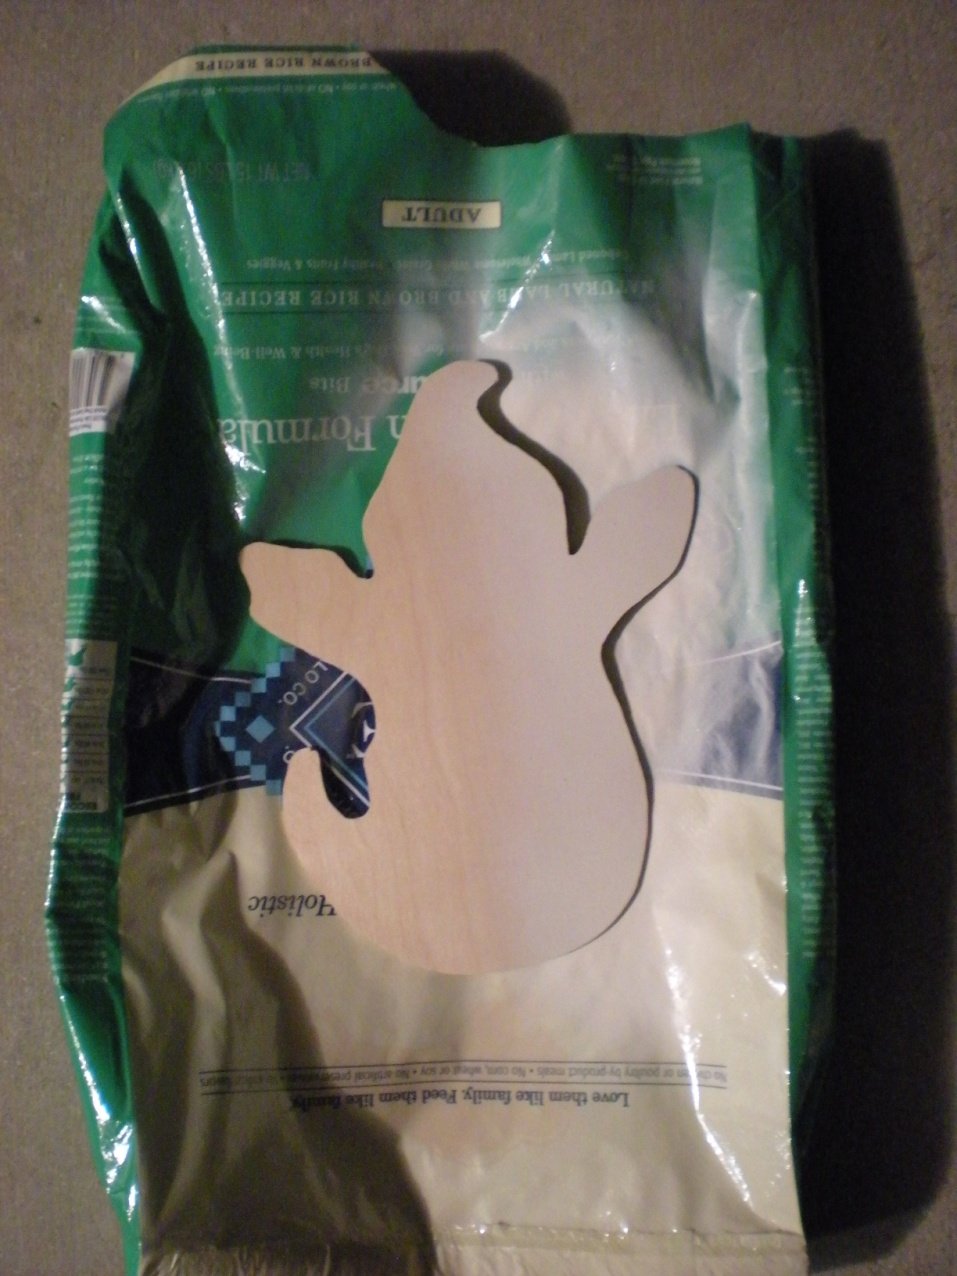
Next step is painting your ghost! I chose spray paint to save time. You can use any type of paint for this project. Yes, that’s my dog’s old food bag underneath my project. You start to become resourceful when you spray paint a lot!
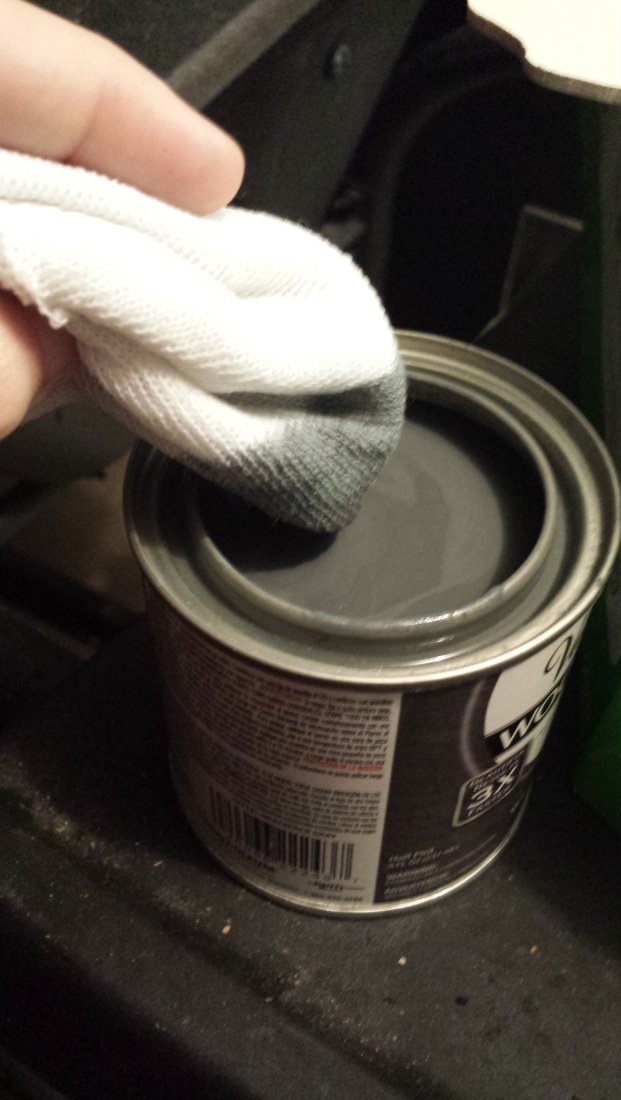
Now the fun part. I love to make things look antique and/or distressed. I chose this awesome stain called “Weathered Gray” from Varathane. I picked it up at Home Depot. I love the color and I thought it would be perfect for my Halloween friendly ghost. Start by dipping your rag into the stain so you have a decent amount of stain on it…
Then wipe the stain generously on your ghost. He should look something like this.
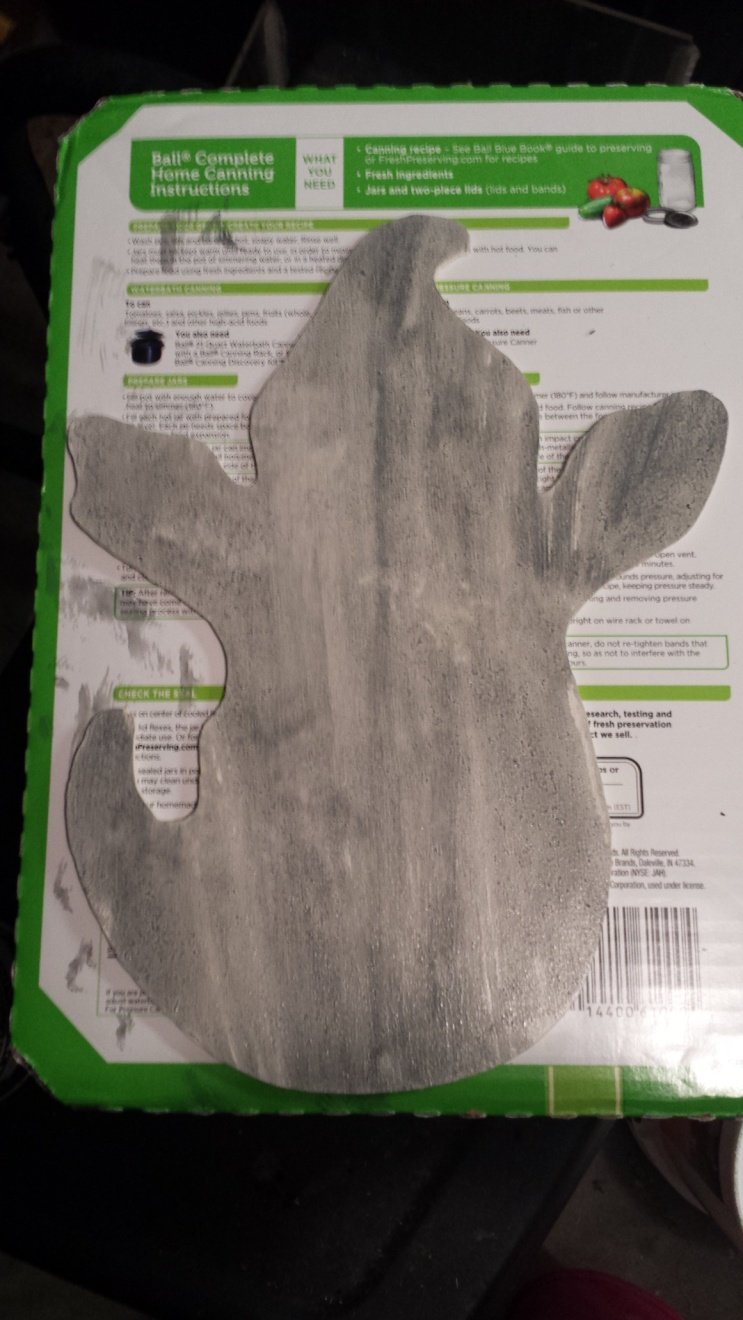
AH! I just ruined the cutesy white ghost, didn’t I!? No – breathe easy. After about 20 seconds of letting the stain soak in, I wiped the remainder off. Then he looked like this!
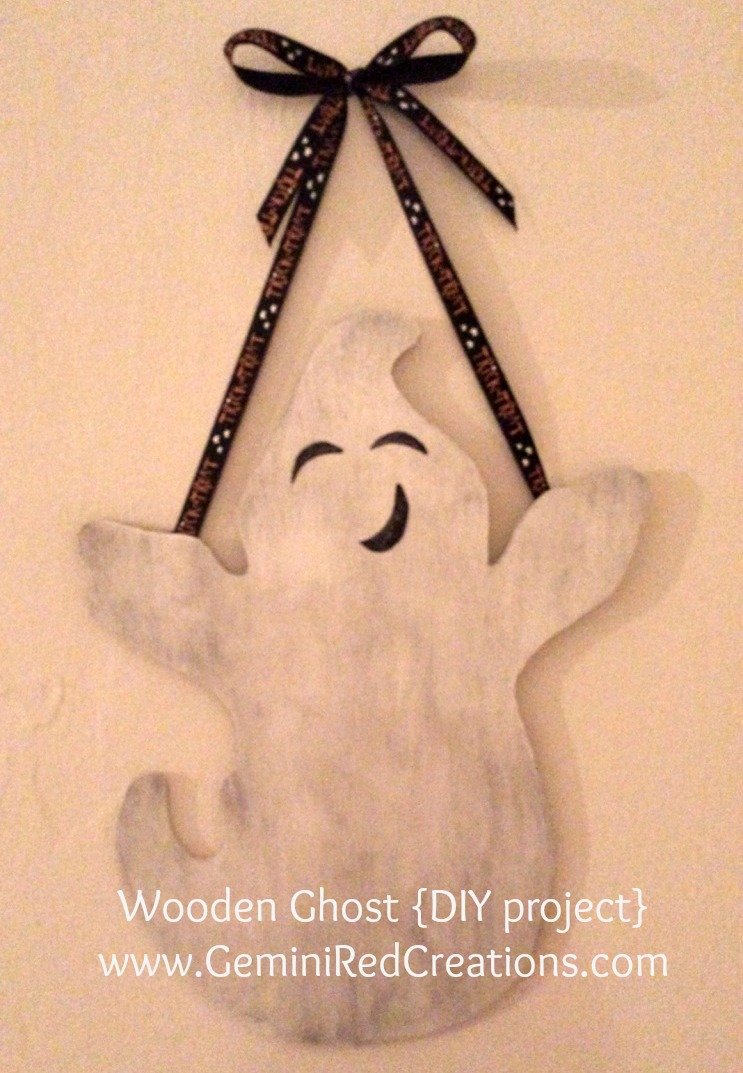
Well hello, perfectly cute distressed ghost! I went over the ghost one more time with the stain to give it more of an “old” look. The next step is to make a face on the ghost. I like “friendly” Halloween decorations – no guts or gore for me, please! I drew the face with pencil and then filled it in with a Sharpie marker. If you have a Silhouette Cameo, you could also design a face and cut it out of vinyl.
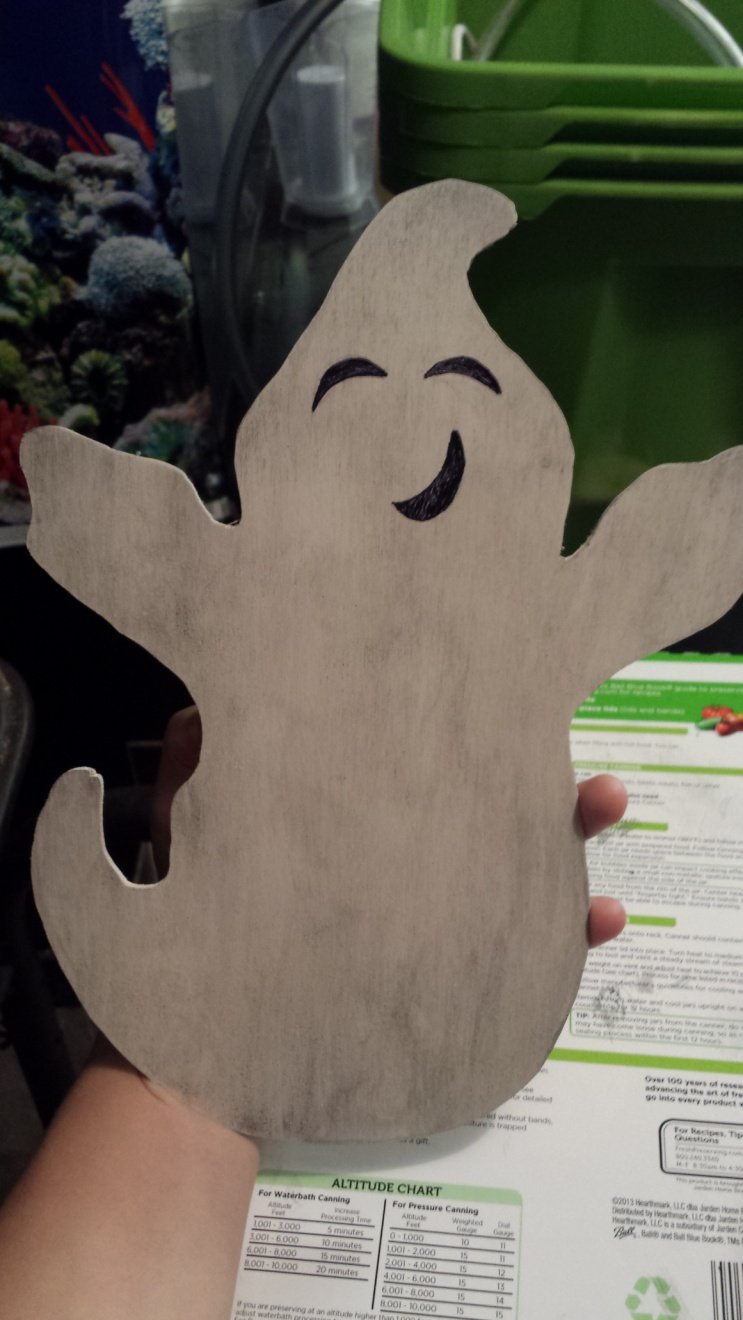
Oh my. Don’t you just love him!? What a happy little fella. The final step is to attach some ribbon and hang him up for all you wonderful readers to see! I used some fun “Trick or Treat” ribbon from Michael’s.

Hope you all enjoyed your fill of woodworking for the day! Enjoy your new homemade Halloween decor!
Do you plan on making this fun wooden ghost to hang in your home?


These are adorable.
Thank you – all the credit goes to my friend Jennifer!