Happy Summer! The weather is warming up out there so why not give yourself a pedi, polish your toenails, and decorate them with a super cute monogram decal. Jessica from Fresh-Squeezed Flair is great at making these decals and is here to show you how to put your Silhouette Cameo to use to make your toes look extra special! She is sharing this vinyl nail decals DIY project. Once you master the monograms you can try other decals as well!
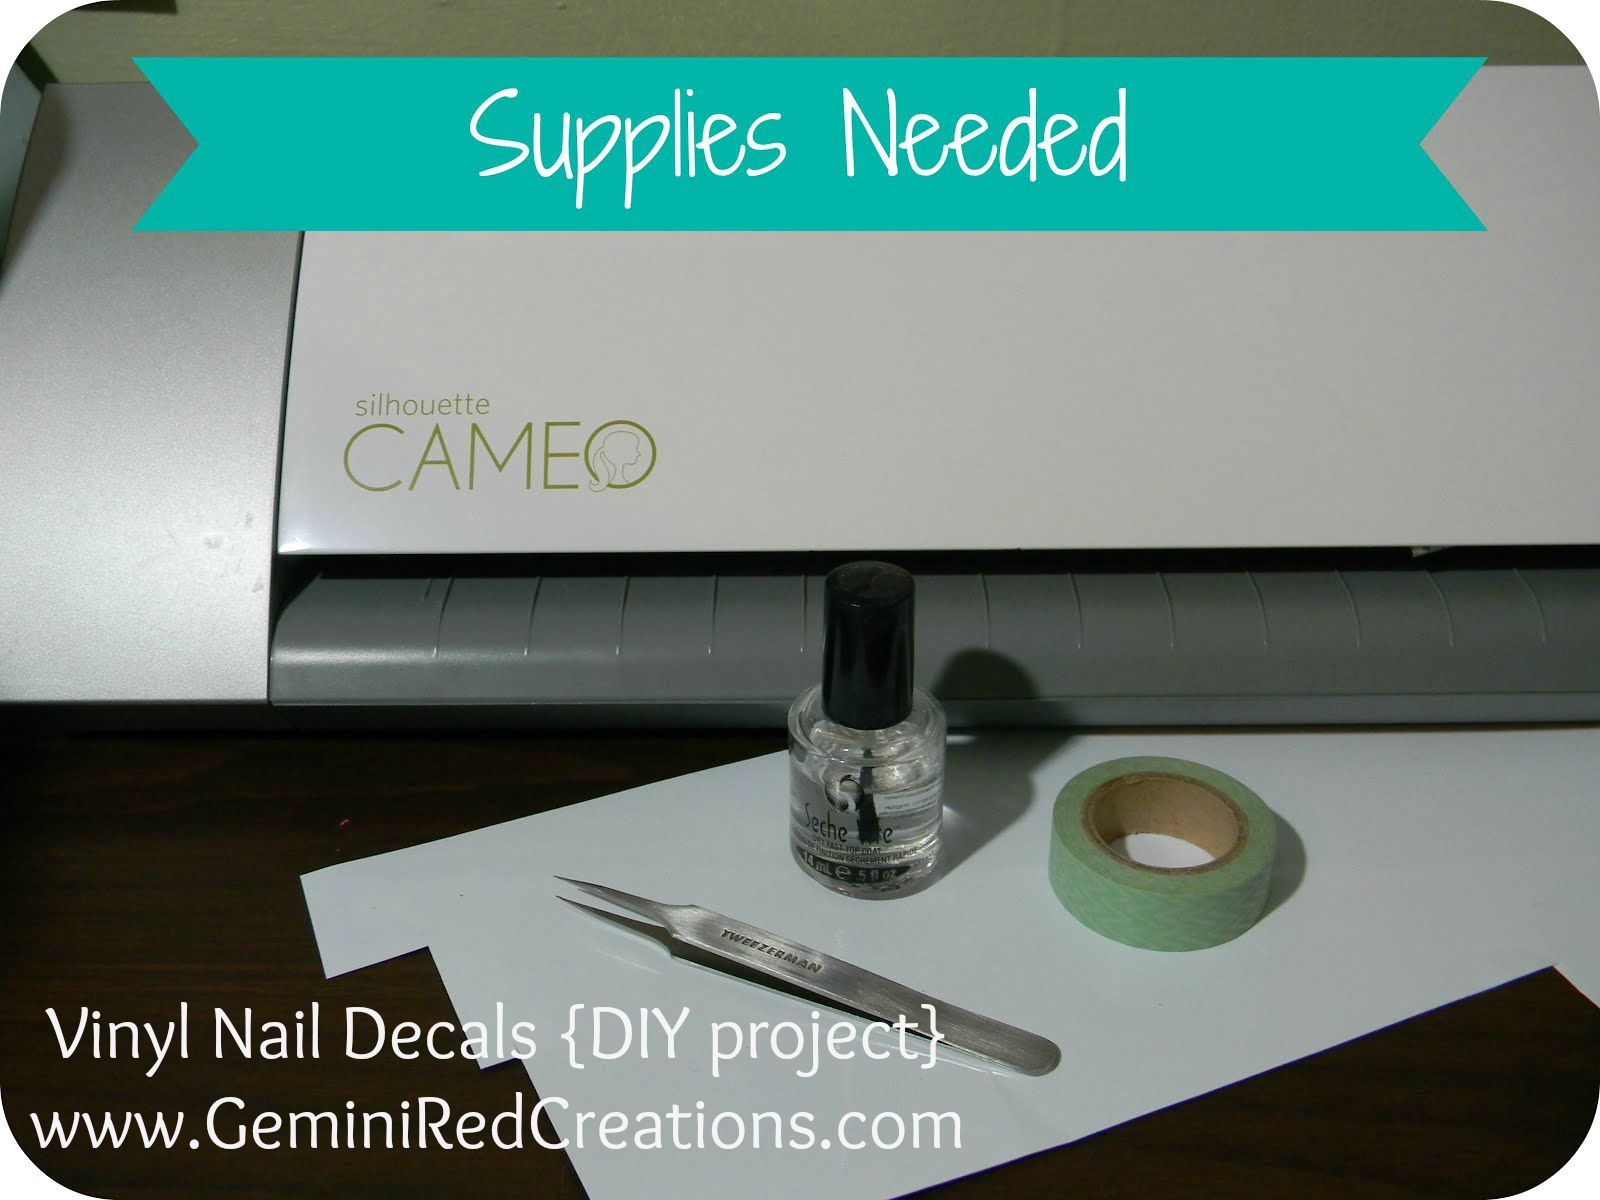
For this project I used my Cameo, scrap vinyl, washi tape (or you can use masking tape, transfer tape-whatever you have on hand), my amazing weeding tool (aka Needletweeze), and a top coat.
Next, open up your Silhouette software and design your monogram. I’ll save you a bit of trouble and let you know that it will be A LOT easier if you 1) have a fresh blade since there will be intricate cuts 2) thicken up your font. I used the Monogram font and offset each letter to make them a little bit thicker, and then welded them altogether. Viola!

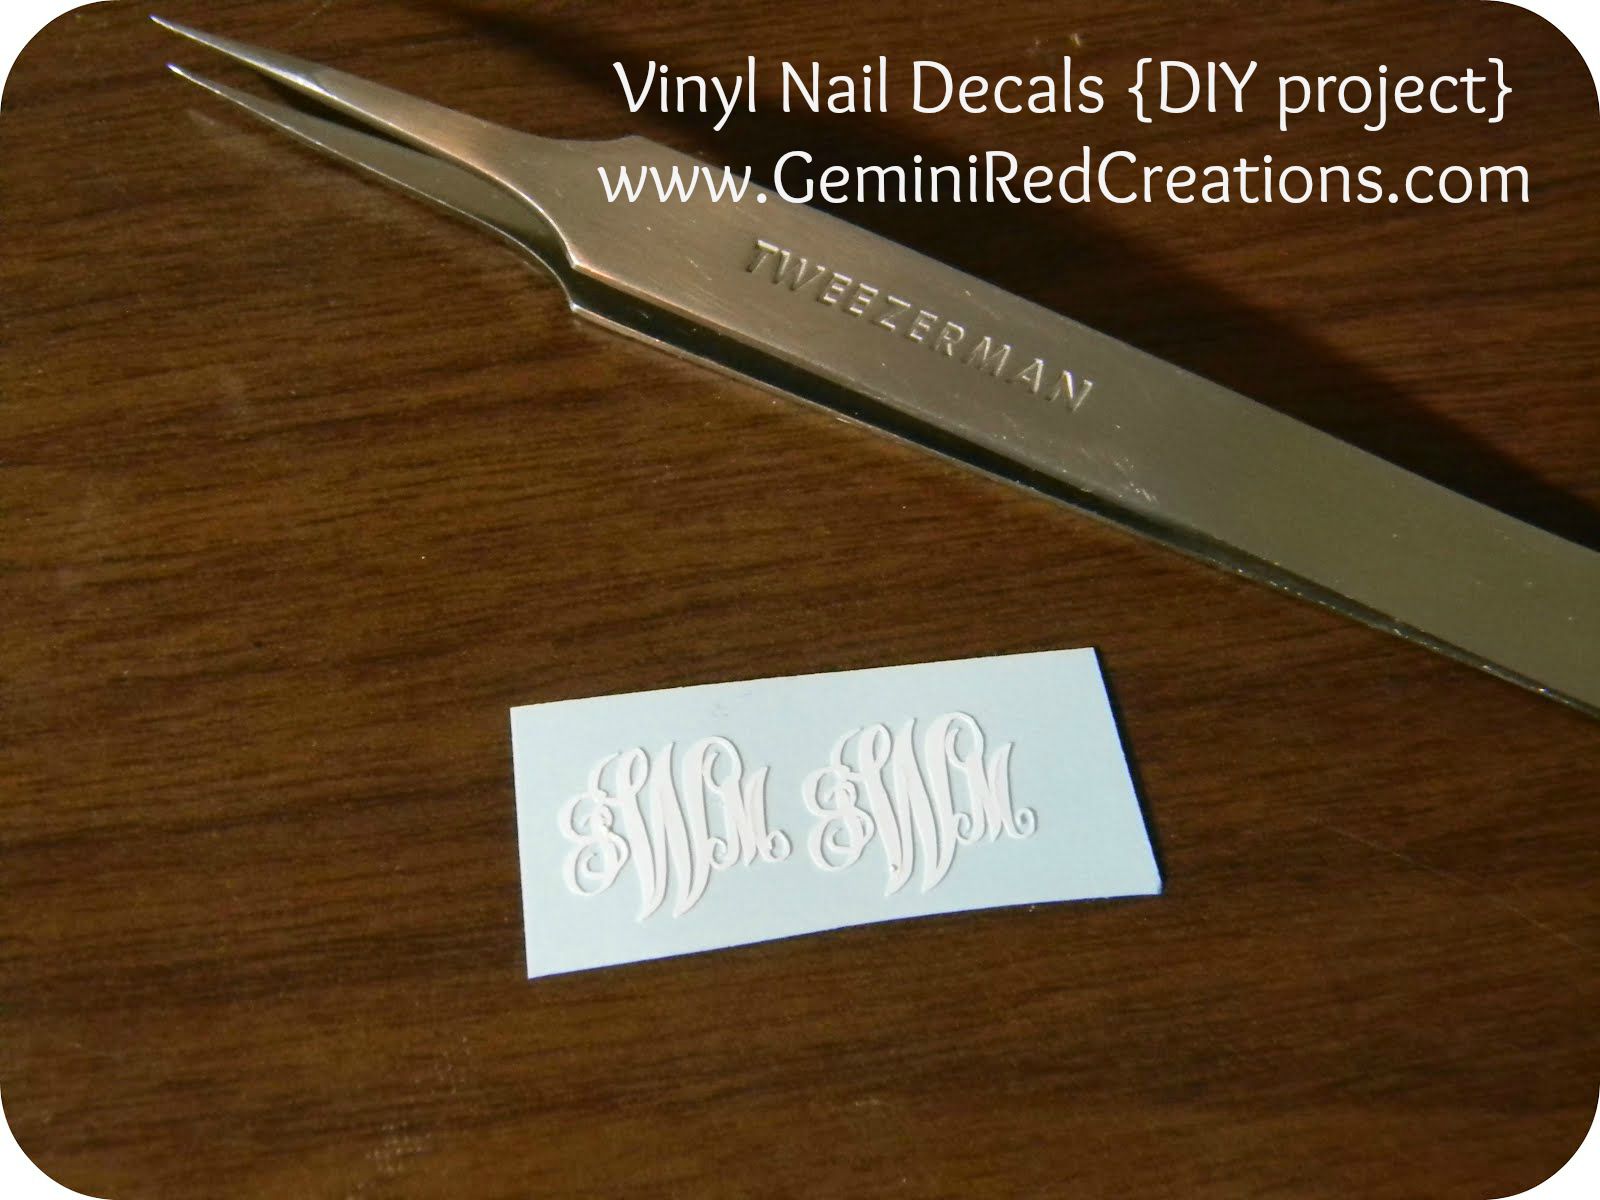
After you cut out the design on your vinyl, you will need to “weed” the pieces you don’t need. A little tip: since this cut is so small, I find it easier if you weed out the little pieces first before removing the big outside piece. If you weed the big piece first and then the little ones, the monogram will lift up and move around and will cause you to say bad words. 😉 This is what it will look like after:
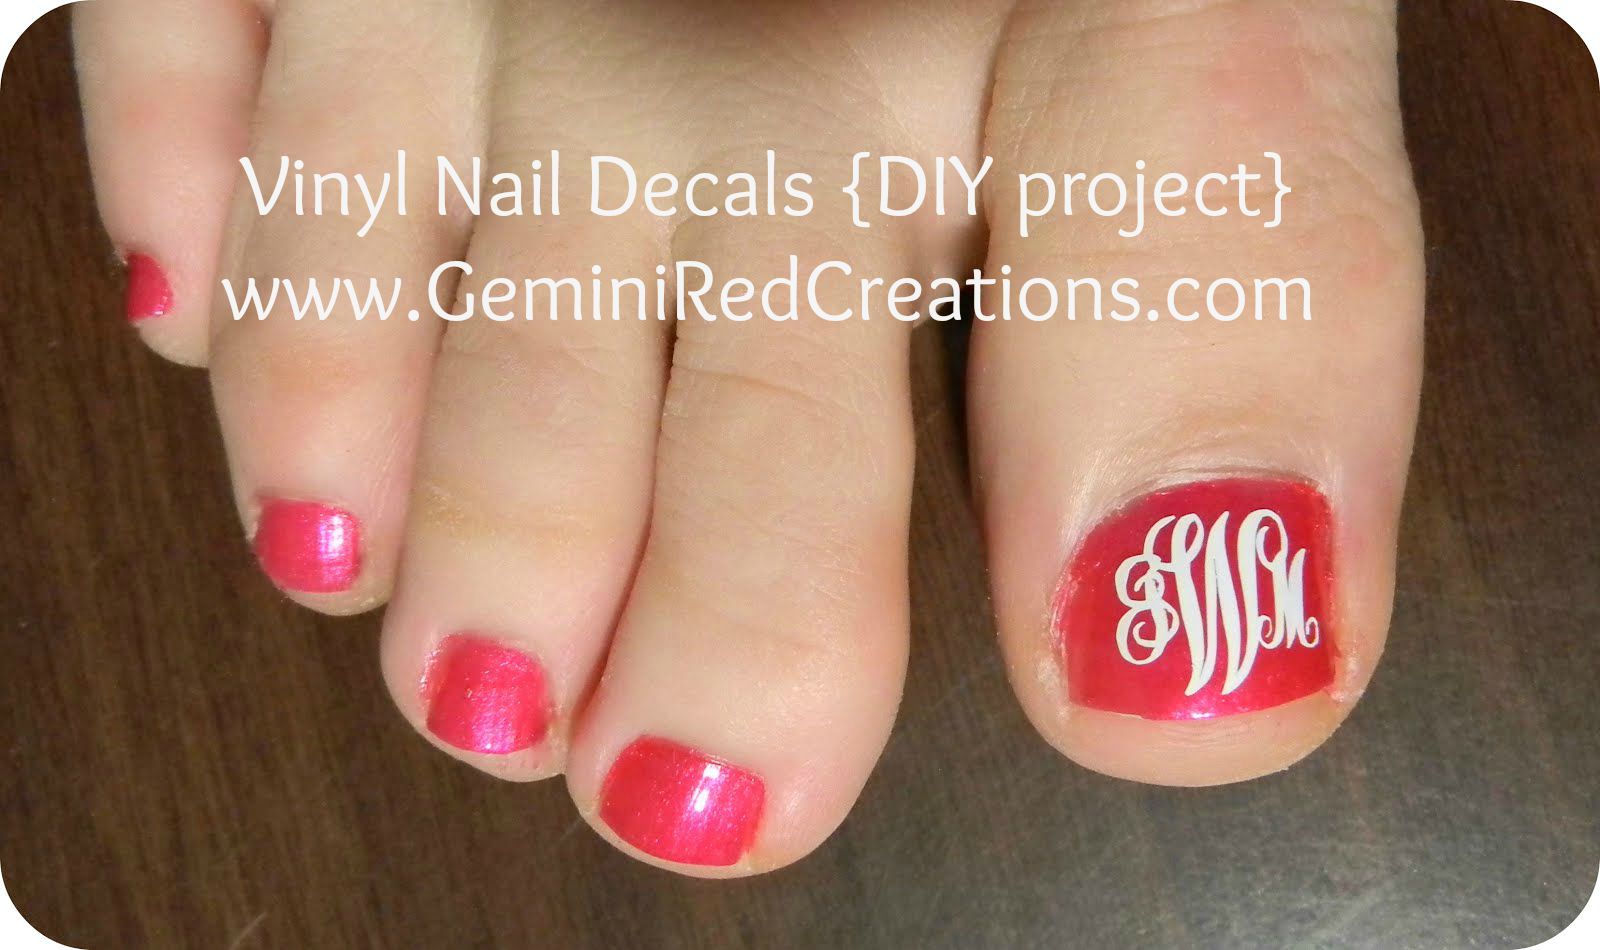
To transfer your monogram to your nail, all you need is a little piece of washi tape or masking tape. Apply the tape over your monogram and it will stick to the tape. Then place it where you desire and remove the tape. All that’s left is to seal the vinyl with a nice top coat. My favorite is Seche Vite, which can be found at Sally Beauty Supply-it’s seriously amazing. How pretty! (Ignore my crooked toes and terrible polish job…hehe)
If making your own decals is not an option, you can find Fresh-Squeezed Flair on Facebook and Etsy!