I’m so excited about “The Scrappy Swag” – I mean…if you have fabric hanging around, a party about to happen (or a little girl’s room to decorate) this is the perfect DIY project tutorial.
I’m happy that Kim is once again showing off her amazing talents of DIY and photography!

Hi! It’s Kim here showing you how to make one of those cool shabby swags you’ve been seeing all over the place lately. They are so easy and the technique can be applied to making tutu’s for little girly girls too.

Let’s get this party started!
So, what do you do with a bucket full of vintage fabric?
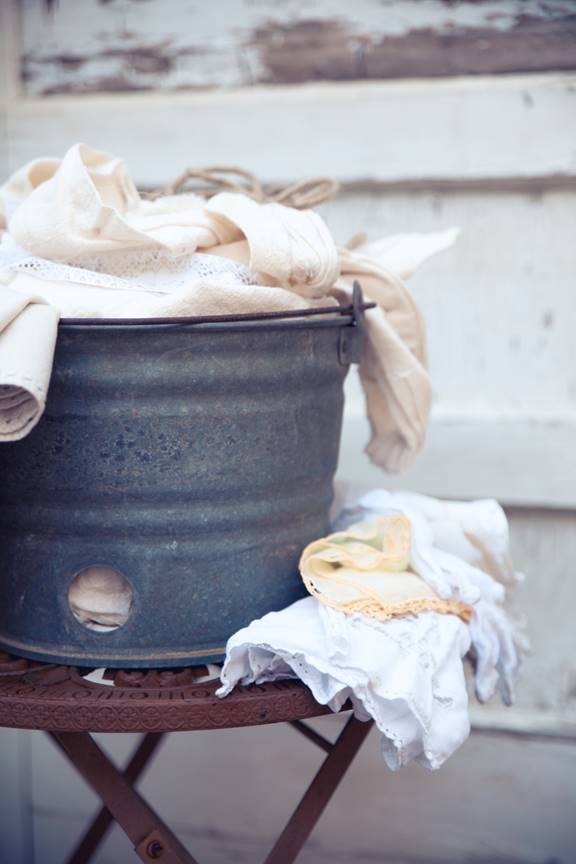
Make a totally adorable shabby swag!
{They’re usually called garlands, but shabby swag has a cuter ring to it.}
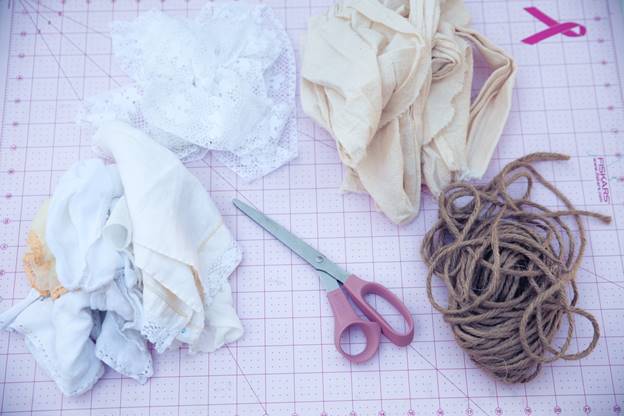
Ok, gather your supplies:
Jute twine
Scissors
Scrap fabric {Several different coordinating fabrics.}
{It doesn’t matter how big the pieces are really. The strips I cut/ripped for this project were about 18″ long. Cotton works better because you can rip it and get that shabby look easier. However , I used some synthetic fabrics for this too. I just cut the strips with scissors and it frayed a little when I tied it.}
First, we need to cut or rip the fabric into 1.5″ strips.
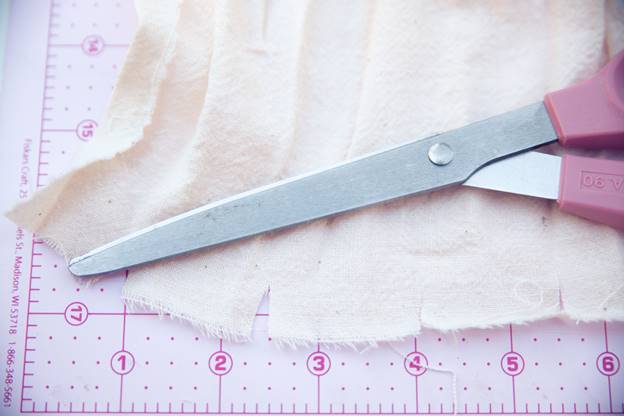
I started with this muslin fabric. All I did was roughly measure and clip every 1.5″
Then I just ripped the strips straight down. Next, I cut the strips into 18″ long pieces, give or take.
{I’m an “eyeball crafter”. Meaning, I eyeball my measurements a lot.}
The amount of strips you will need depends on the length you want your swag to be. I estimated about 1 strip per half inch of twine.
Once you have all your strips cut, you need to cut your piece of twine to put them on. Measure the area you want to swag to go. Then add about 48″ to each end so you’ll have plenty of twine left to hang your swag. This one is 48″ long with 48″ ties on each end.
Now we need a spot on the twine to start tying on our strips. Measure out 48″ of your twine and tie a knot there.
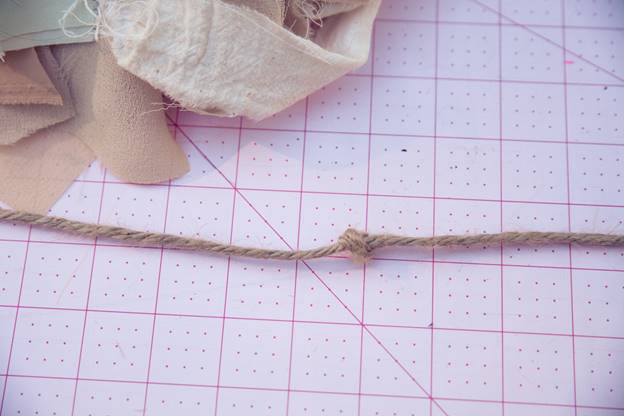
Just a regular old knot.
Now to start tying. I used one of the loopy knots. {I’m sure they have a name. I just don’t know it.}
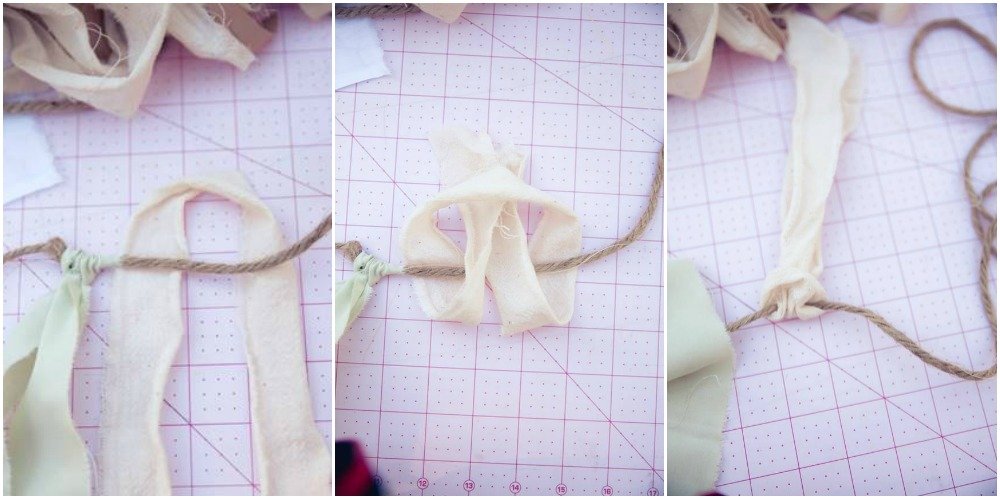
Fold your strip in half.
Lay it on the table with the loop at the top. Lay your piece of twine over the strip about 2″ from the top.
Take the long tails of the strip and thread them through the loop, catching the twine inside.
Pull it tight, flip it down, and scoot it over next to your knot.
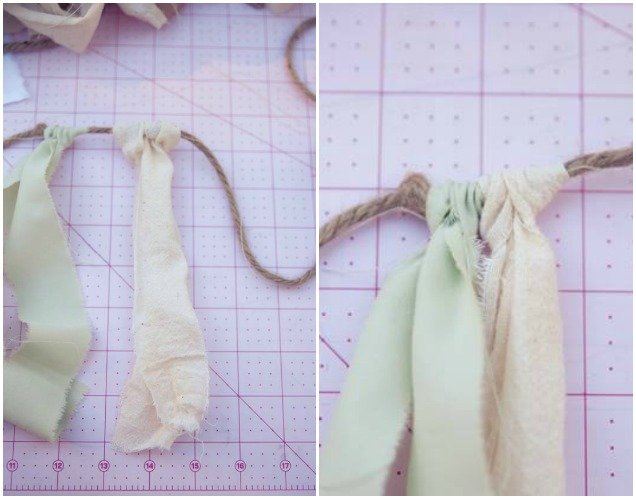
Alternate your different fabrics any way you wish. I had just a few white ones that I knew would stand out. So I folded my twine in half and evenly placed the few white ones I had.

Then I laid the few green ones I had next to the white ones and tied those on too.
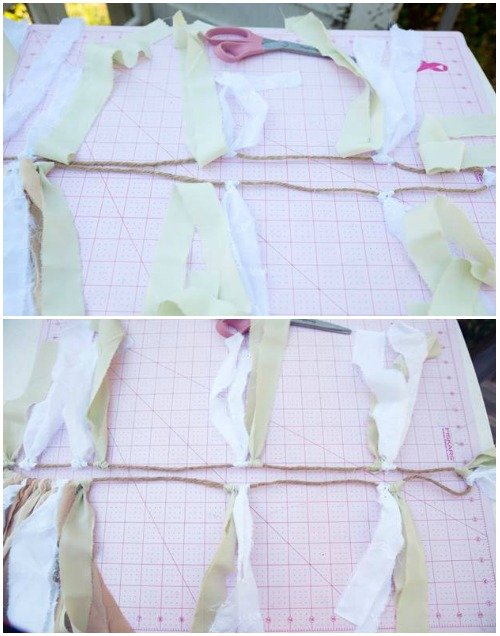
Now, just keep on tying. You’ll start to see progress pretty fast.

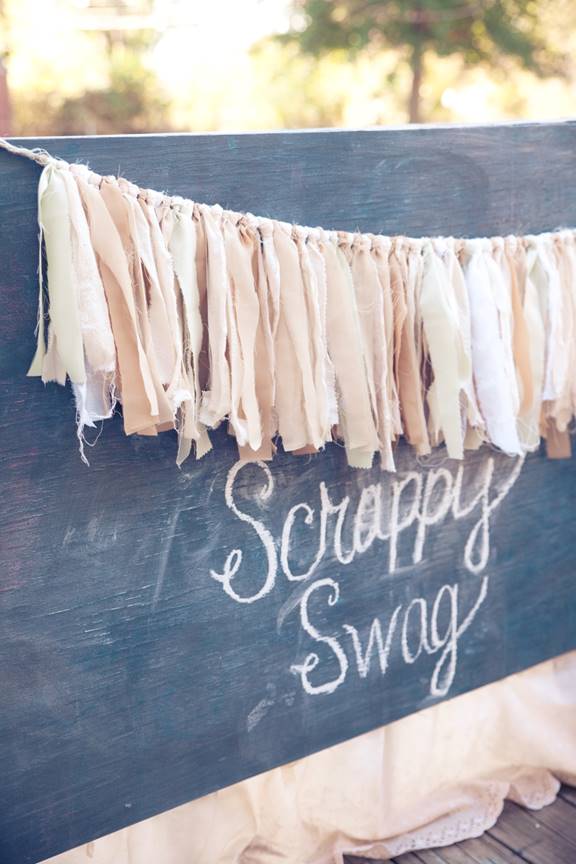
When you’re all finished just hang it where ever you have a need for shabby intervention. Like your kids outdoor chalkboard.
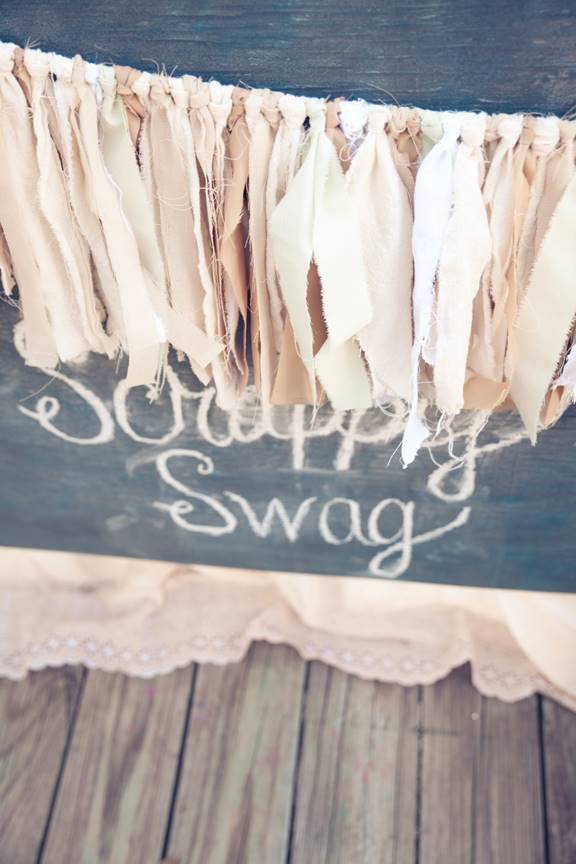
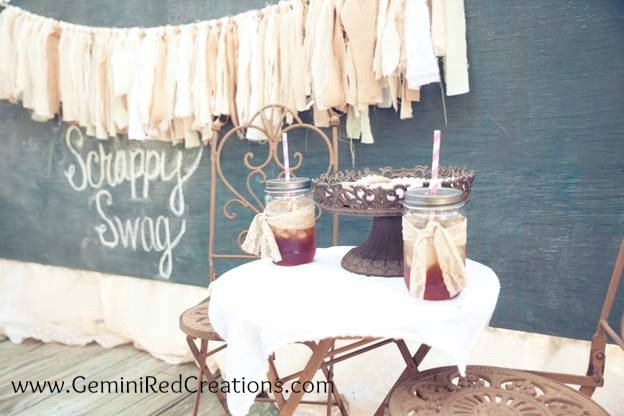
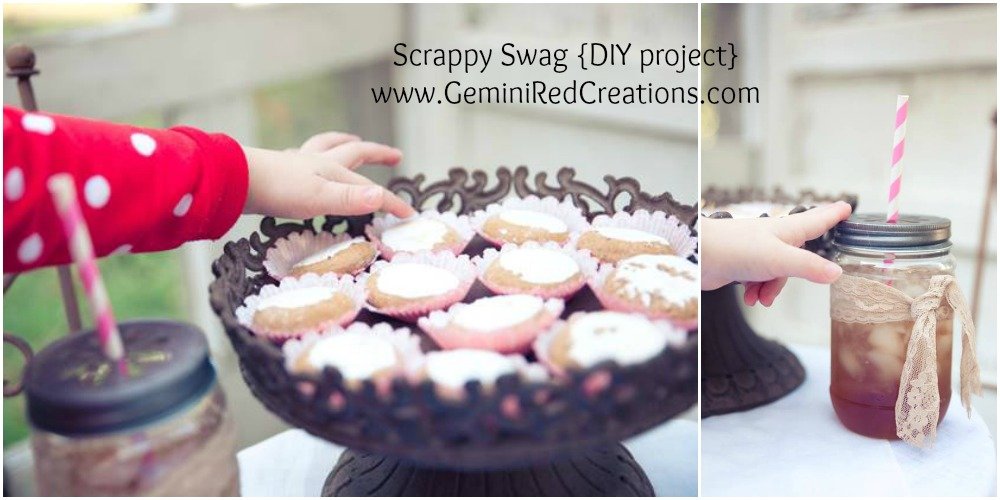
Complete with sweet tea and gingersnaps. But be careful. Little fingers can’t resist.
Do you have a party that this scrappy swag will be perfect for?
![]()