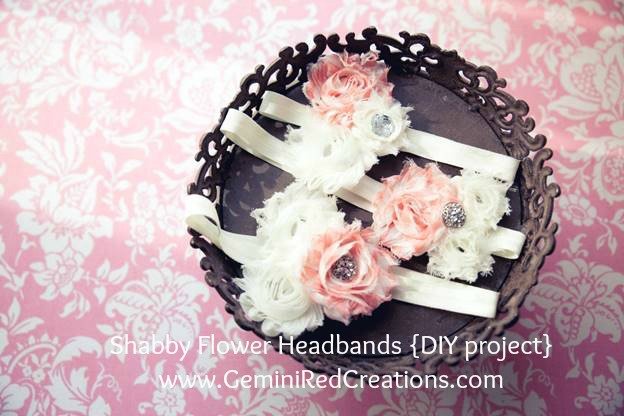
Using pre-made shabby {fabric} flowers one of my favorite friends and photographers is going to show off her skills at making beautiful Shabby Flower Headbands in this easy DIY project tutorial. You may remember seeing some other tutorials from Kim, along with her beautiful photographs.
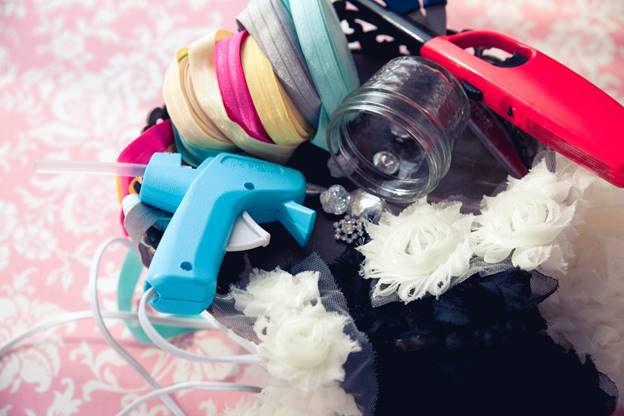
Supply list:
Shabby flowers
Fold Over Elastic
Hot glue and glue sticks
Scissors
Measuring Tool
Lighter
Small piece of Felt
Blingy button

Many of our friends purchase their supplies from the wonderful Misti over at Welch’s Workshop Supplies on Etsy. They have everything you need to make this headband and so many other lovely creations. We love their customer service and fast shipping.
*Bonus! When you order from Welch’s you’re supporting a military family!*
The shabby flowers I used come in a strip. So, since they come in a strip you have to cut them apart. Carefully.
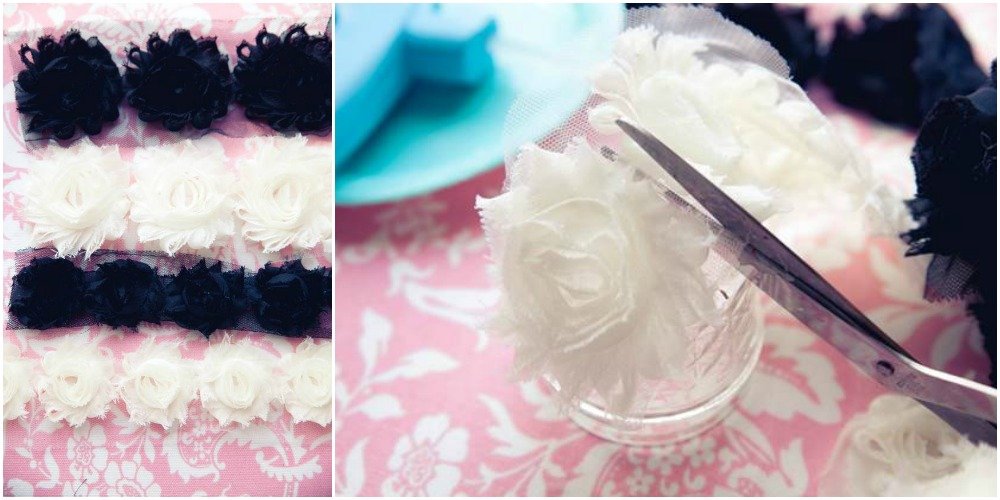
{Please don’t mind my unclean scissors. It’s just a little tape. Victims of crafting}
After you cut apart the amount of flowers you decide to use, it’s time to come up with a plan. Play around with the arrangement of your flowers to see how they look best to you. Don’t forget the blingy button.
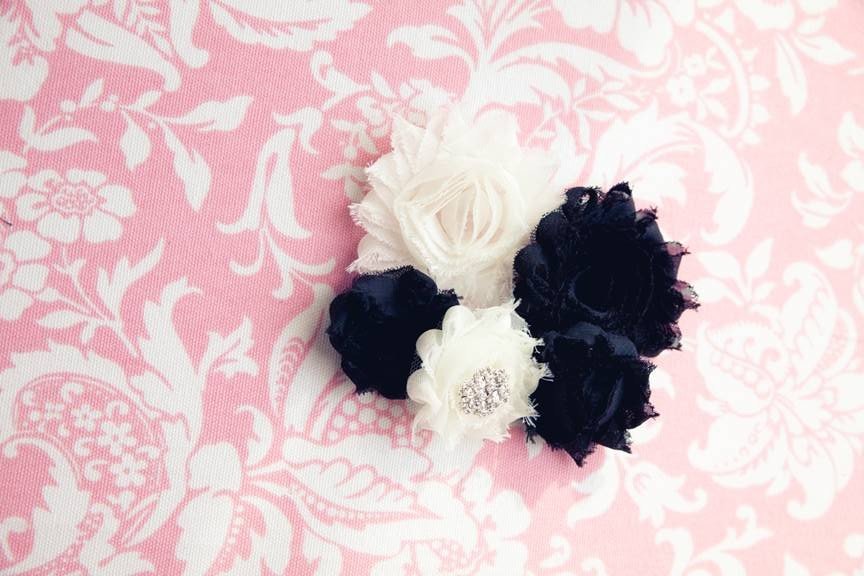
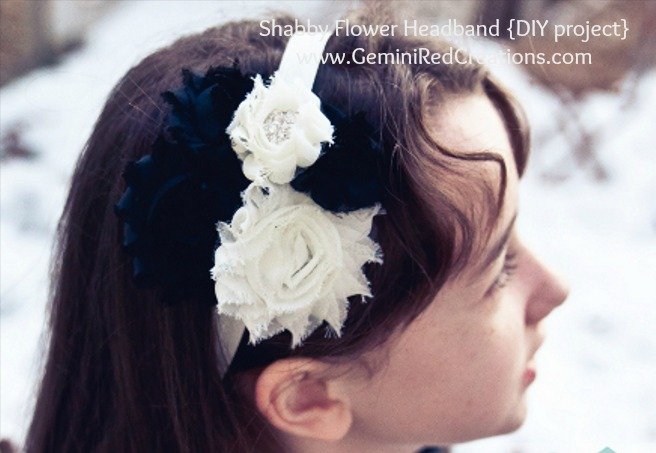
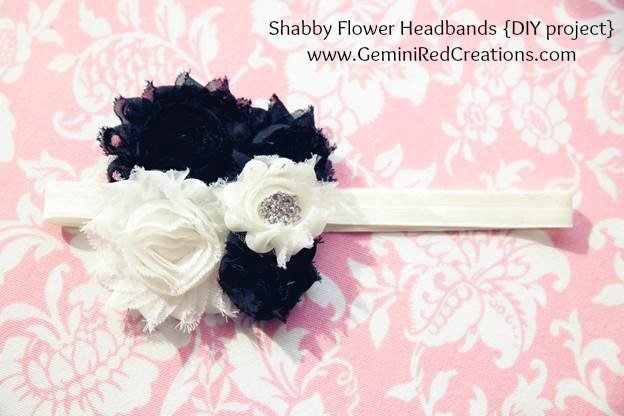
This is the arrangement I came up with. An ivory and a black large with a black, ivory, black small pattern.
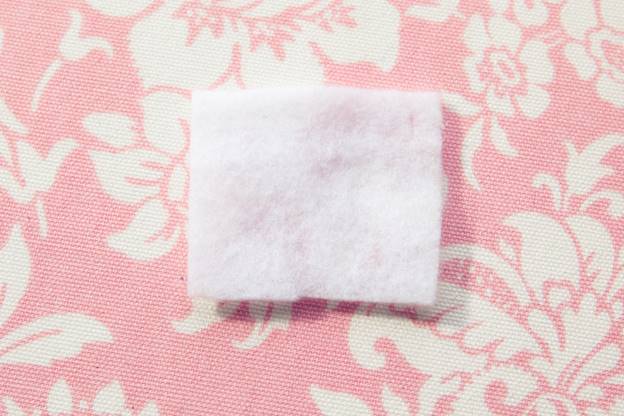
Next, cut a small piece of felt. You will use this to glue your flowers to so the arrangement stays neatly in place.
Now, carefully glue your flowers down one at a time on to the felt.
This is what the underside will look like.

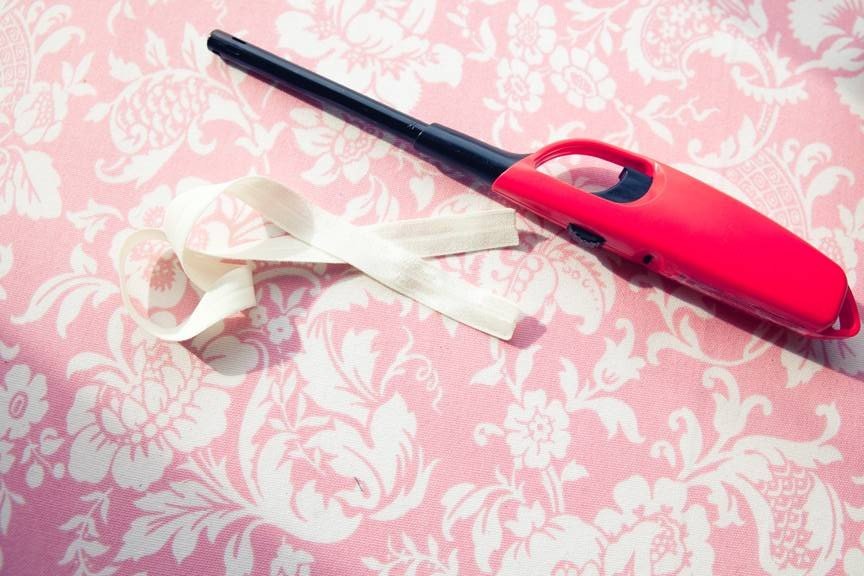
Then we will attach a strip of Fold Over Elastic to the felt on the underside of the flower arrangement. I cut my piece of FOE 18 inches long. If you are making it for your own little girl, go ahead and measure it to her head to make sure you get the right size. After you’ve cut the elastic, singe the ends with the lighter.
Now to glue the elastic on the flowers. You’ll need to make a loop. Pay close attention to the elastic. There usually is a shiny side and a dull side. I put my shiny side on the outside.
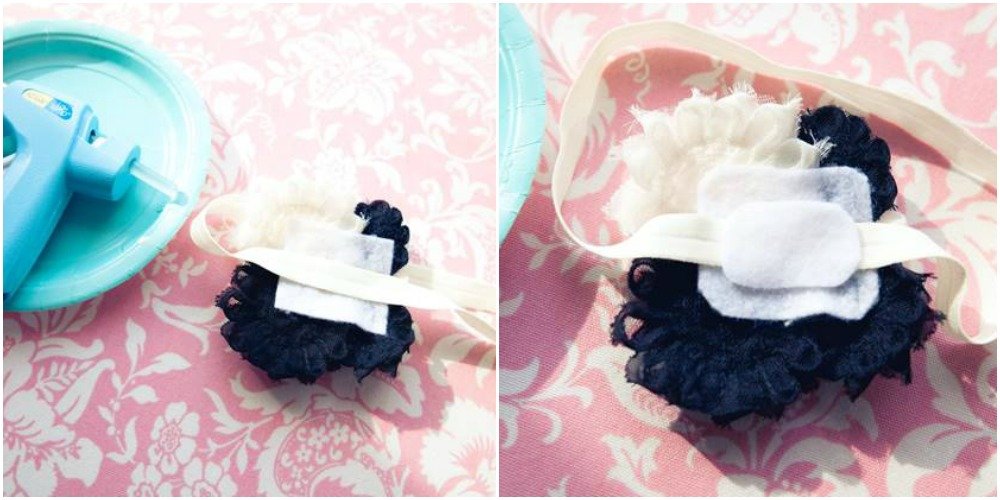
After I glued my elastic on, I cut a small piece of felt and glued it on to cover the elastic seam.
And there you have it! A beautiful boutique style headband. Perfect for pictures or everyday princess play!
Here’s some more inspiration. I made these in like 15 minutes. The 15 minutes before we left for family pictures. Yeah, that’s how I roll.
Are you ready to make these for your next family photo session?