It’s just about time to start making holiday pumpkin pies. I’ve never been a fan of them (or really any pies, for that matter), but my friend Jen whipped up some pumpkin puree to be used for a fresh pie and I’m here to share it with you today. Not only does making your own puree save you money, but it’s so much fresher and tastier than using canned pumpkin filling (that’s what I’m told anyway). Since I know that pumpkin is all the rage this time of year I think you will love this – not only can you use it for pumpkin pie, but according to Google you can make your own pumpkin spice latte, stir it into oats, add it to smoothies, use it in muffins, cookies or other baked goods, pumpkin hummus, pumpkin pancakes, freeze it for later, and according to one post someone used with in macaroni and cheese. As a macaroni and cheese lover – I personally won’t advocate for that. Let’s get to it!
Grab a pumpkin like this nice big one that Jen picket up.

Cut your pumpkin in half and start to scrape out the guts. If you don’t mind your kids getting a little messy or it taking you longer to scrape everything out – this might be a fun task for them to help with. Oh…and be sure to save the seeds so you can broil them for a tasty snack!
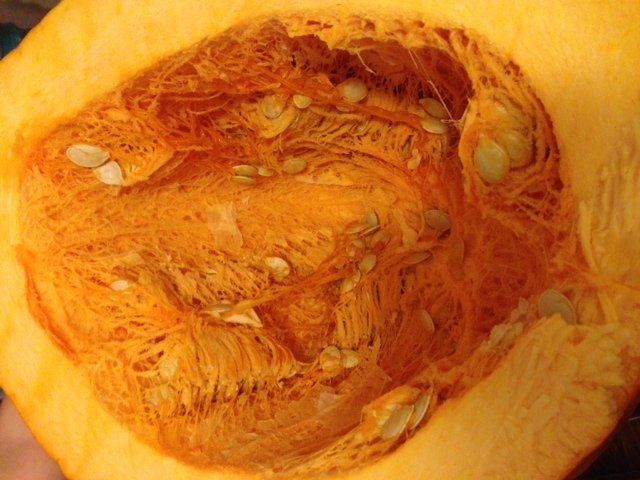
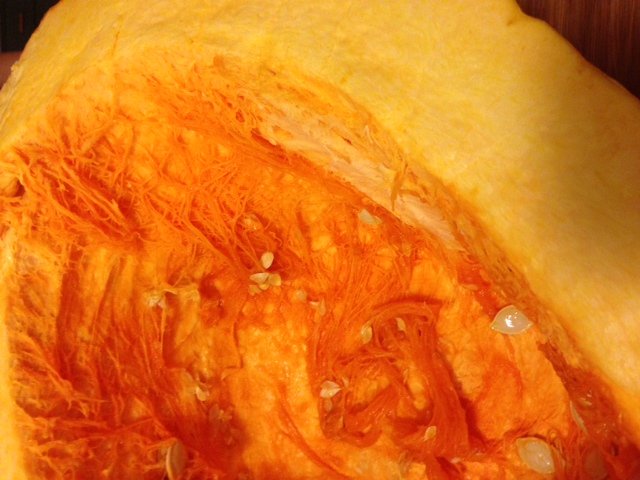
Don’t be too picky with this part. All of the strings will be much easier to cut off after baking. You can see below how much Jen cleaned hers – she just grabbed what she could quickly with her hands.
Begin cutting your pumpkin into pieces. By cutting into pieces you help your pumpkin cook faster and more evenly.
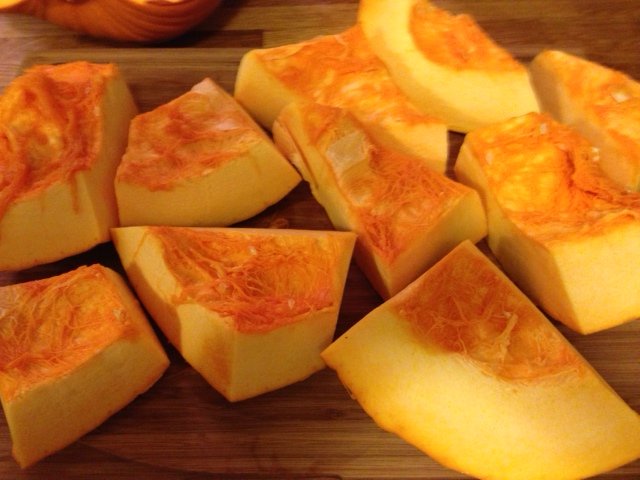
Load your pumpkin pieces into a pan. Make sure you use a pan with an edge because they will release juices while baking. Don’t be afraid to squish them in.

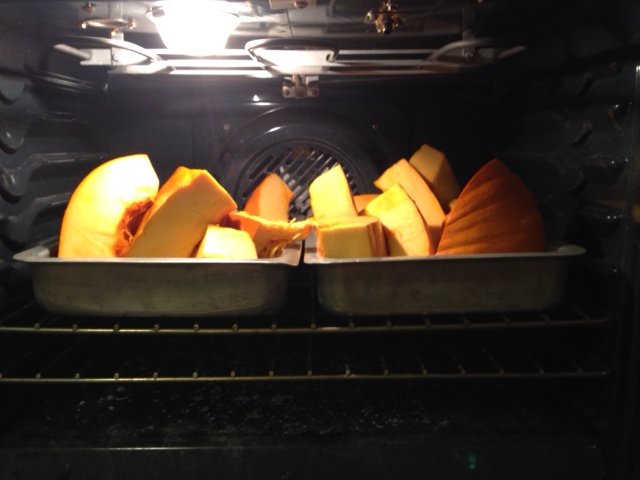
Put your pans in the oven. If you bake on convection at 400 you will save time (and energy), and it will take about an hour. You can cook without convection no problem – they will just need about ½ hour longer. You know your pumpkin is done when you can stick a fork in it without too much pressure. Similar to when you check a potato.
Here is a piece that has been baked. Now you just trim off the skin, the strings from the insides and any dark brown edges.
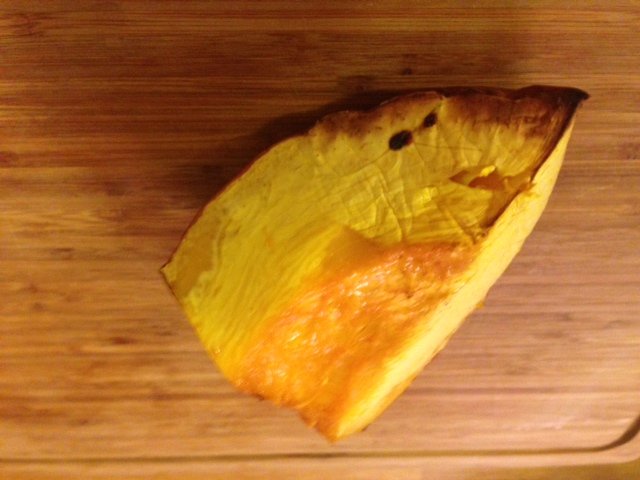
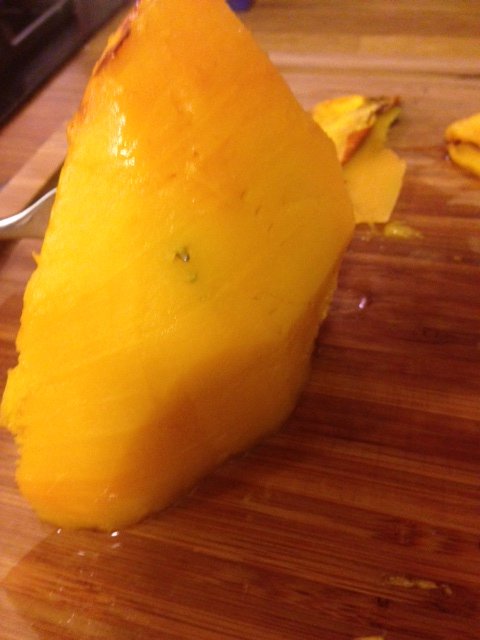
Here is one all trimmed up. Well almost! A couple dark spots were missed and went unnoticed until checking the pictures….OOPS!
Now just throw those trimmed pieces in your blender. If you notice any excess water in your pieces or blending canister try to get it out, it will help make your puree thicker.
And that’s it! Easy peasy! Just use this puree in any recipe that calls for canned pumpkin and your yummy pumpkin recipes will be even better! It keeps for several days in the fridge, but you can also freeze it. Freezing it in 1 cup increments in freezer bags makes it easier to defrost and use all through the holidays.
Enjoy!

Note on Defrosting: To defrost your pumpkin you can either place it in the refrigerator a day or two before use or defrost in the microwave. Just be sure to defrost it all the way. If you only defrost part of the bag and just use the defrosted part your pumpkin could be watery. Freezing in 1 cup increments helps with this.
What are your favorite pumpkin recipes?