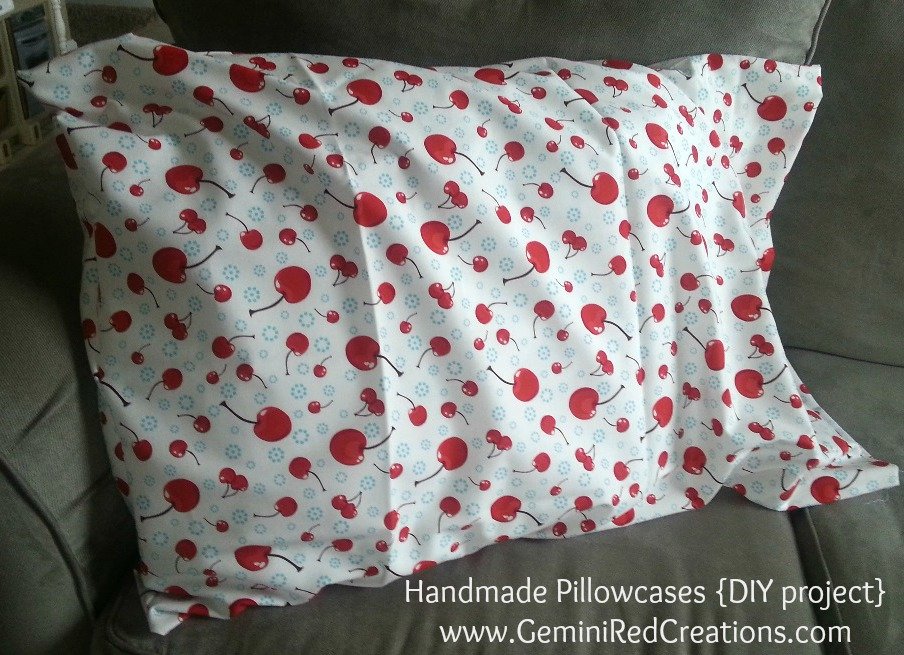
Guess who is visiting to give us another sewing tutorial? It’s my friend Sabrina from Hugs & Love by Sabrina. I have saved a ton of pillowcase tutorials over the years and still have yet to try them. So, this time I will have to give it a whirl.
Supplies:
Standard pillow case
1 yard of fabric
Thread
Sewing machine
1/4” foot for sewing machine
Ruler
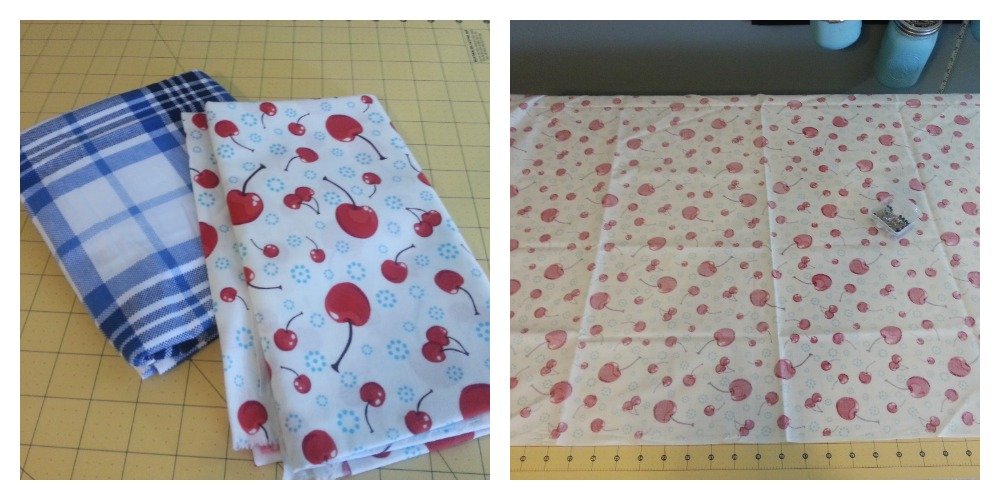
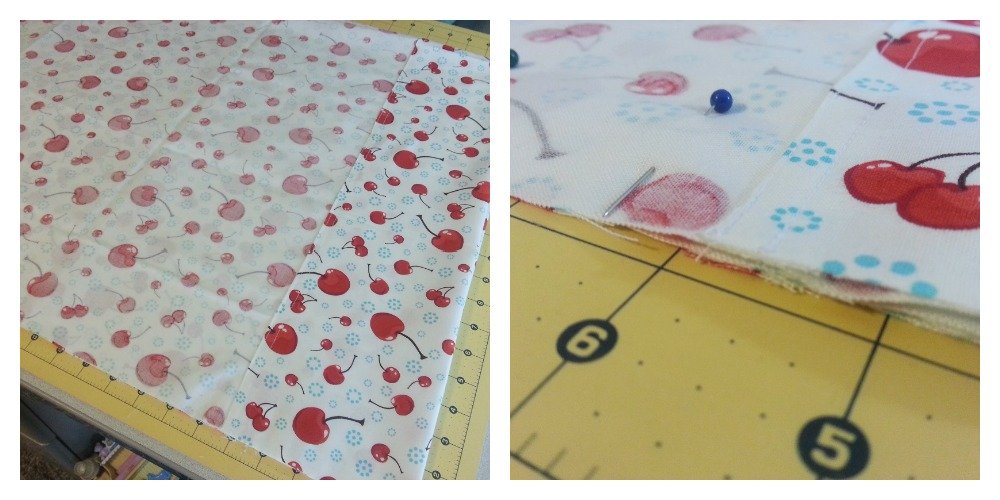
Step 1: Gather your supplies. I measured my standard pillow case to double check what size I needed to make. Mine measured 20” wide by 30” long, so we will need at least 21” by 31” to include seams. Next lay your piece of fabric right side down on your cutting mat or some where you can measure.
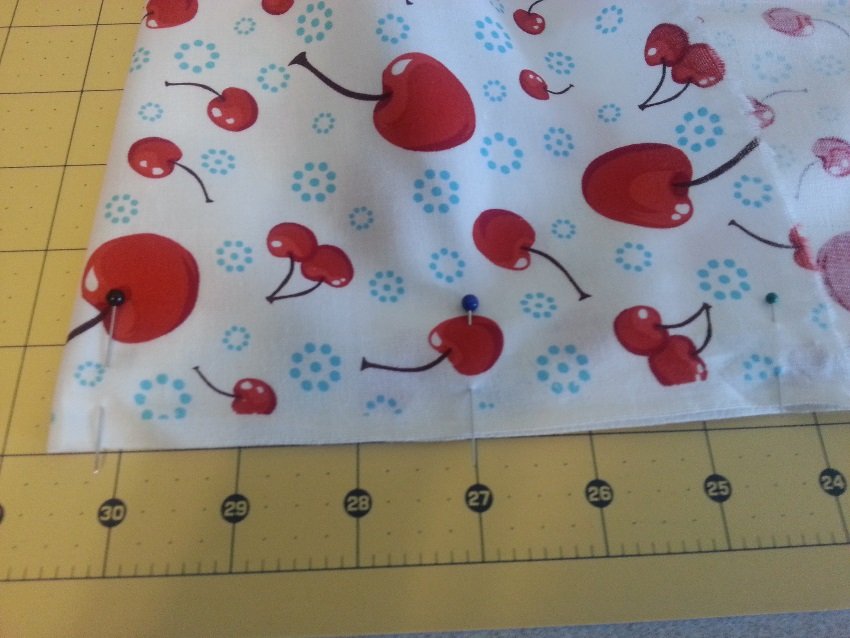
Step 2: Fold one end of the length (36”) up to the 31” mark, pin in place. This will be the opening of your pillow and give you the length we need. (Remember you will be sewing the bottom so you want to account for seams.) Make sure you are straight all the way across.
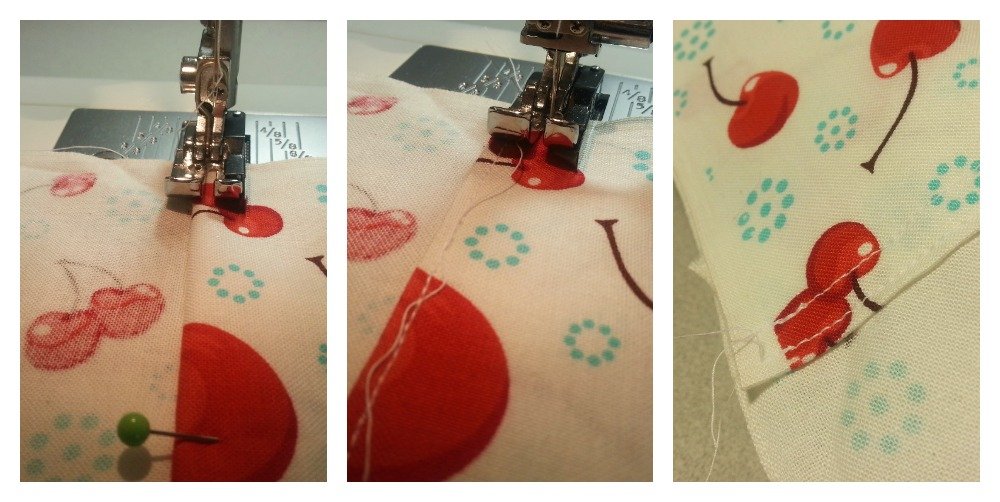
Step 3: Fold the raw edge of the fold you just crated under to give a nice hem; keeping it straight. Now pin all the way across to get ready to sew.
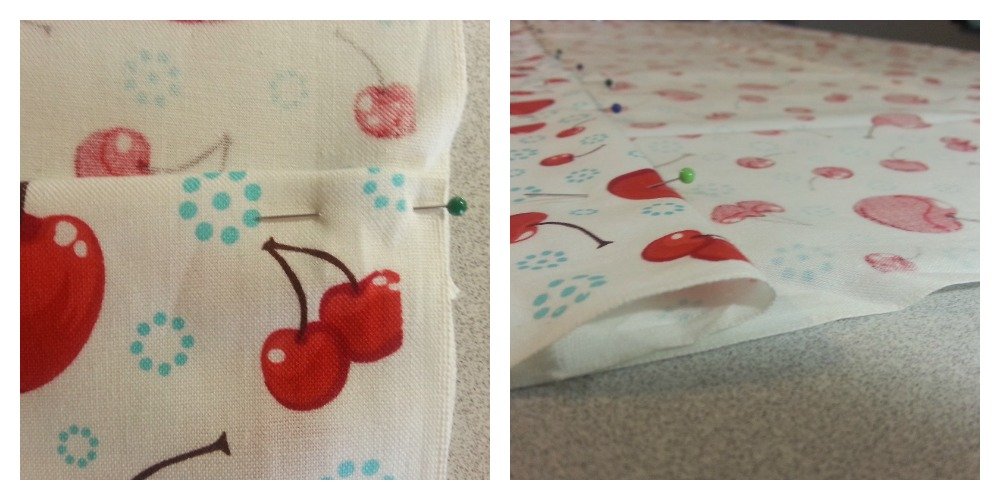
Step 4: Sew along the edge of the raw edge fold to create your hem and give the pillow look. I use my foot as a guide, just keep the fabric right along the edge of the foot. I also like to do another stitch for a double stitch look; use the first stitch as a guide.
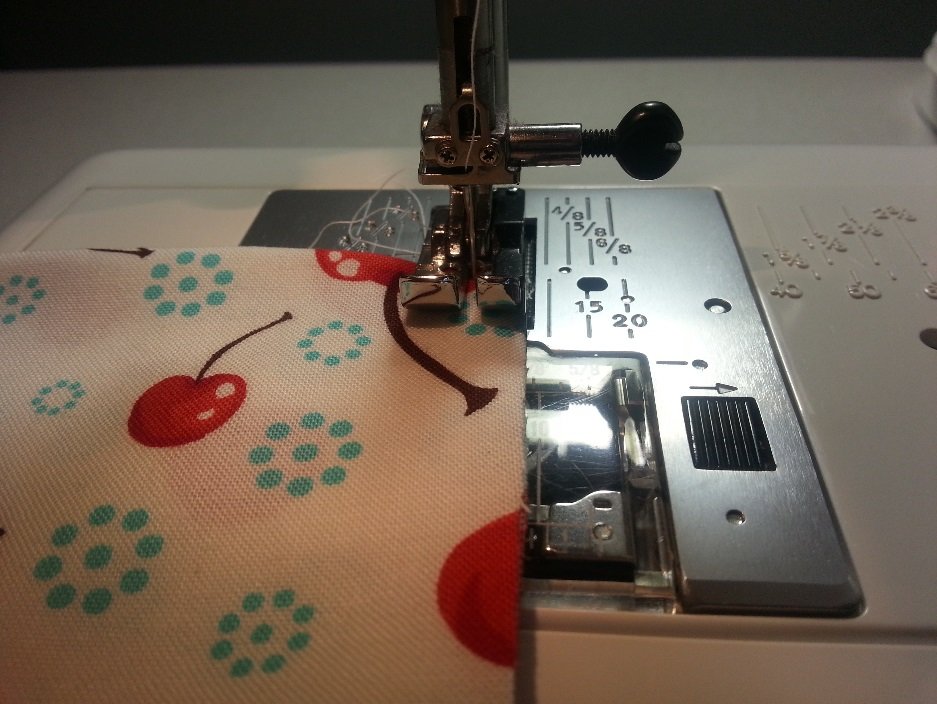
Step 5: Fold your fabric, right sides together, width wide. So you will now have the shape of the pillow. Pin together.
Step 6: Using a ¼” seam, sew down one side and the bottom. You do not have to sew the fold.
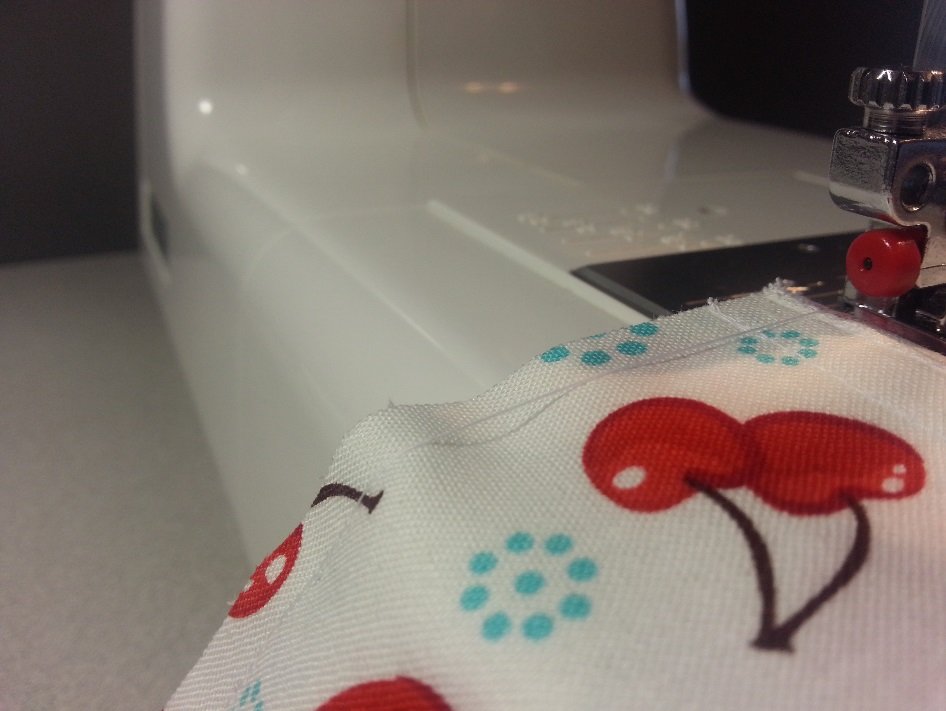
And be sure to check your bobbin thread, I forgot and was just sewing along, not doing anything. LOL
Step 7: Turn right side out and enjoy!
So…do you think this is easy enough to give it a try?
![]()