Yeah for my friend Jennifer V who has agreed to share her Wooden Vases DIY project with us. After seeing some at Target that were $35 each, and not wanting to spend that kind of money, she opted to get out the power tools and make her own!
Here’s picture of Jennifer’s inspiration…

You can probably guess what went through my mind – “I can make that!” So I did, and it was super easy.
All you need is:
-
- Wood (1X6 pieces of wood. I bought four 4-foot-long pieces because that was enough for my measurements.)
- Stain
- Foam brush to apply stain I prefer foam brushes immediately followed by a rag to wipe off any excess.)
- Nail Gun
- Big chain (You’ll see why.)
The first step is to cut the wood. You can pretty much choose how tall or short you want your vases to be. I chose two different heights so it would be more appealing to the eye. If you don’t have your own saw, you can have Home Depot or Lowes cut them for you. I wanted the taller of the two to be 24 inches and the shorter one to be 20 inches.
The cuts are really simple. I cut four pieces of wood 24 inches long and then four pieces 20 inches long (Once again, Home Depot or Lowes can do this!). Then I sanded them down on all of the corners so they would look old and worn. I used my Ryobi Corner Cat Finish Sander, which you can get from Home Depot for 30 bucks! Great deal. I love this little guy!

Is anyone else’s garage as clean as mine? 😉 Anyway! Putting these together is as simple as using a nail gun and nailing them together into a square. I didn’t want them to be in a rectangle shape, so I did a square. Hard to explain, but I think the picture will help you see. Here’s what you’ll have after putting it together:

Look at those nicely sanded corners! I think it softens the look of the finished product. So…here comes the fun part. Beat the wood with a big chain. Come on, you know you want to! Just go for it! This can be pretty cathartic after a long day at work. The marks the chain leaves give the wood a slightly beat up, worn look. The stain will soak into these holes and look so cool (which you will be able to see in the final product). Can you tell I get excited about this stuff??
Now you can go ahead and stain your vase. You can also stain beforehand and do both sides of the wood. I chose not to because I knew no one would see inside these things and I figured I would save the extra stain. I stained as far down on the inside as I could so it appears that the entire thing is stained. I used Early American by Minwax, and I only needed the small half pint can.
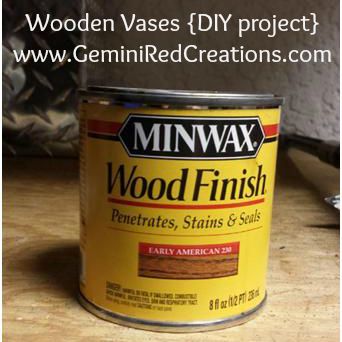
I loved the warm color it brought out in the wood and it didn’t cover the grain, which to me, equals loveliness. Here’s what they will look like at this point!

Are you wondering where the base is yet? Surprise! There isn’t one! I chose to leave the bottom open and cut some floral foam to fit into the bottom. This way, I could arrange flowers easily and keep them in place. That’s just my preference, but putting a piece of wood as a base is always an option.
Now, add whatever you want inside, and ENJOY!

See all the little marks in the wood? *SIGH* I absolutely love these wooden vases and the bonus is that you can use them year round. People have asked me where I got the wood since the grain is so beautiful. They’re shocked when I tell them from my local home improvement store. You’ll be the talk of the town! Or at least the talk of whoever is at your house. Same thing.
Ready…set…fire up the saw!
How would you style your wooden vases if you had some?