My friend Sabrina at Hugs & Love by Sabrina and I both have the same fear – Free Motion Quilting (FMQ). It is the reason I can understand people buying expensive quilting machines – you know, those really jumbo ones that “do it for you.” Below is a tutorial that Sabrina put together when working on a baby quilt recently. She decided to stray away from her standard “stitch in the ditch” quilting routine that she used in the Handmade Baby Blanket tutorial and give FMQ a try. If you need more guidance be sure to hop over to Amazon and check out all the Free Motion Quilting Books.
Sabrina decided to try something new instead of pin basting, and came across a new technique called “glue basting” using washable Elmer’s Glue. As the mother of a 6 year old, she had plenty of it on hand so she grabbed some scrap fabric and batting and the Elmer’s Glue to give it a try.
Supplies:
Scrap Fabric
Scrap batting
Elmer’s Glue WASHABLE
Iron
Sewing machine
Daring foot for your machine
Thread

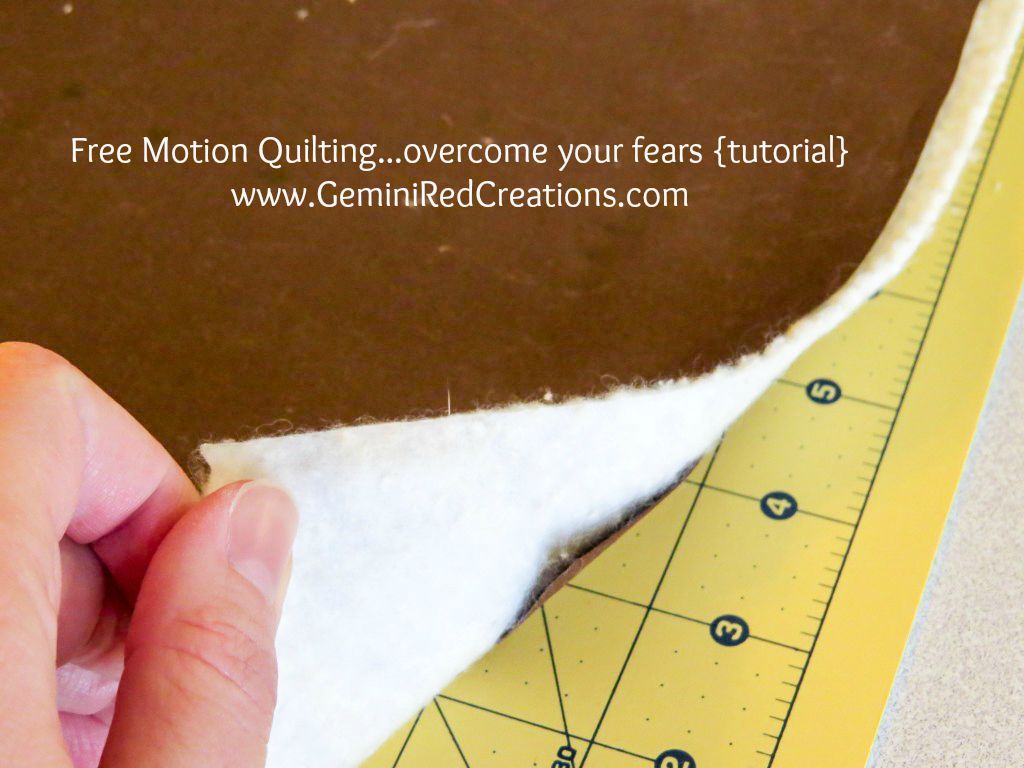
Step 1: Drizzle the glue on one piece of scrap fabric. Then lay the batting on top of this and smooth out. Take your 2nd piece of scrap fabric and drizzle glue on it, lay on top of the batting. You know have your quilt sandwich.

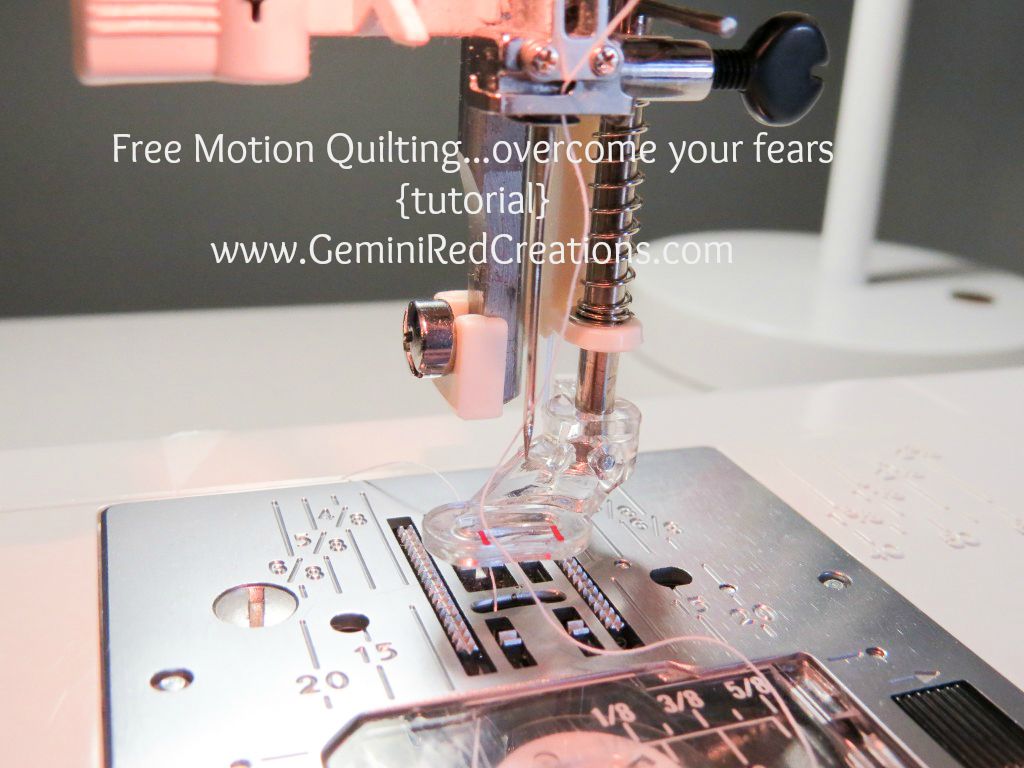
Step 2: Attach your Darning Foot to your machine. You will remove the ENTIRE part where you normally put your foot. Just unscrew the side screw then place your daring foot in the spot and screw it in.

Step 3: Lower your feed dogs. Feed dogs are the “teeth” that help pull your fabric when sewing. You don’t want them up because you will be guiding the fabric. On my Janome, the switch to lower the dogs is on the back of the machine behind my removable tray.
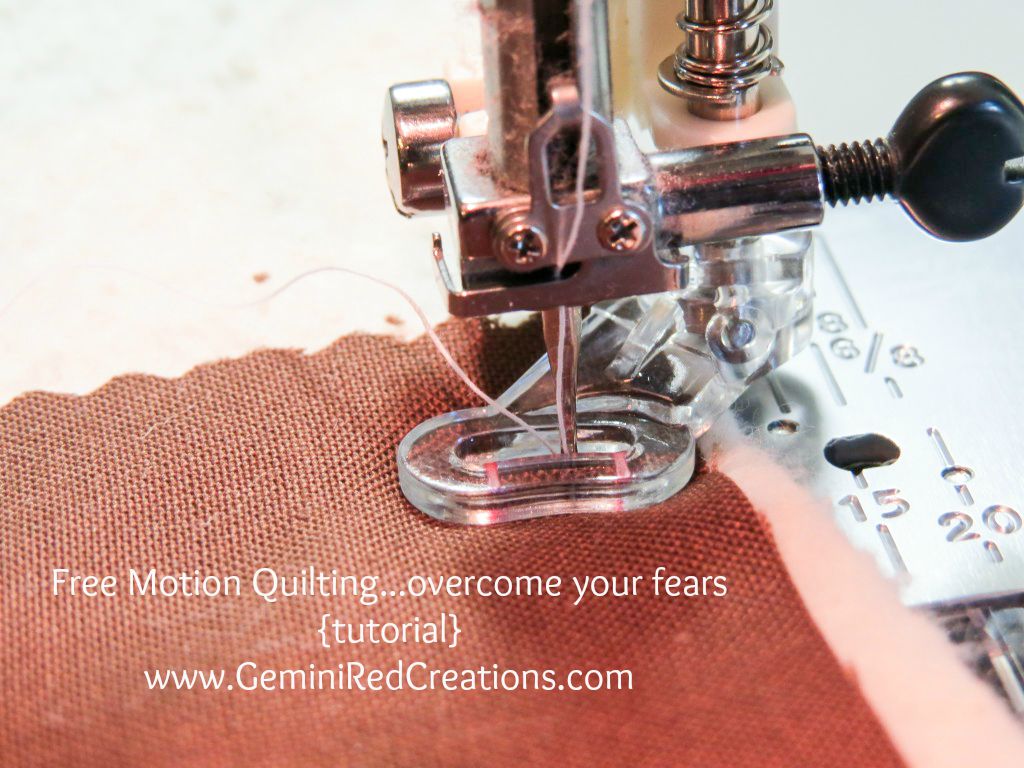
Step 4: Position your scrap quilt sandwich onto your machine. Place your needle in the top corner of your sandwich, lower your needle. NOTE: Be sure to lower your foot. The darning foot will be “floating” so it will look like you have not lowered it. While holding the needle thread slightly, raise the needle. This will pull the bobbin thread up on top of your sandwich. It will be a little loop so just use a pin or scissors tip to finish pulling the thread up. Lower your needle again. Now take a couple of stitches without moving the sandwich to help lock the stitching into place.

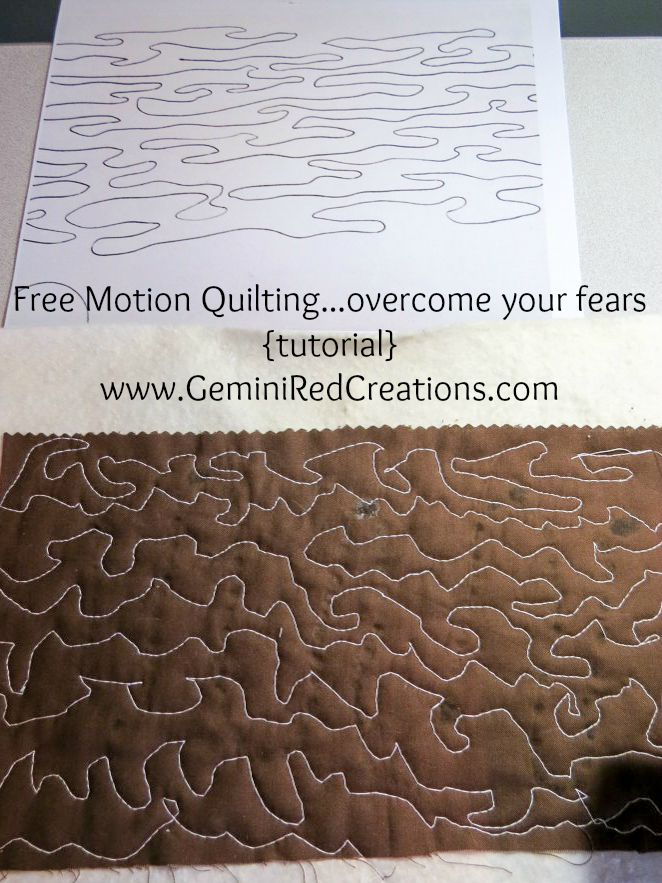
Step 5: Start designing! Now this is where each machine will vary so it will take trial and error to figure out the right settings for your machine. I started with a stitch length of zero and my bobbin tension on 5. I then took a few stitches to see if it looked right. It did not so I moved my bobbin tension and stitch length. Try again…It did take me several tries before I found the right settings. Just keep checking your top stitching and your back stitching to make sure they are tight.
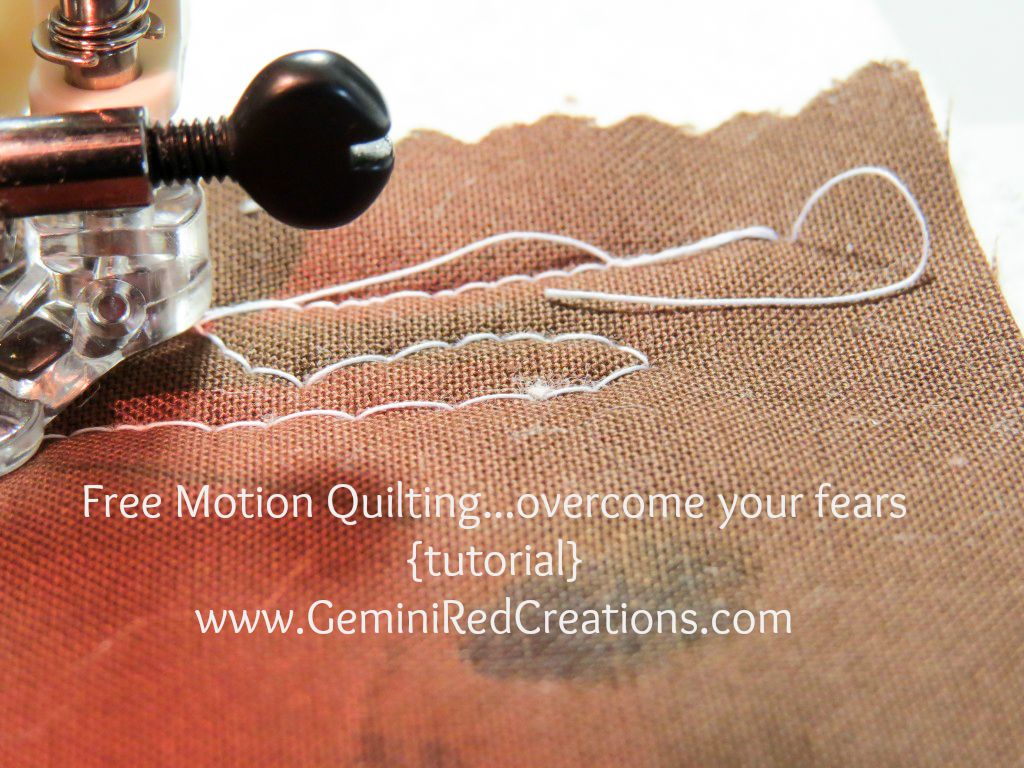
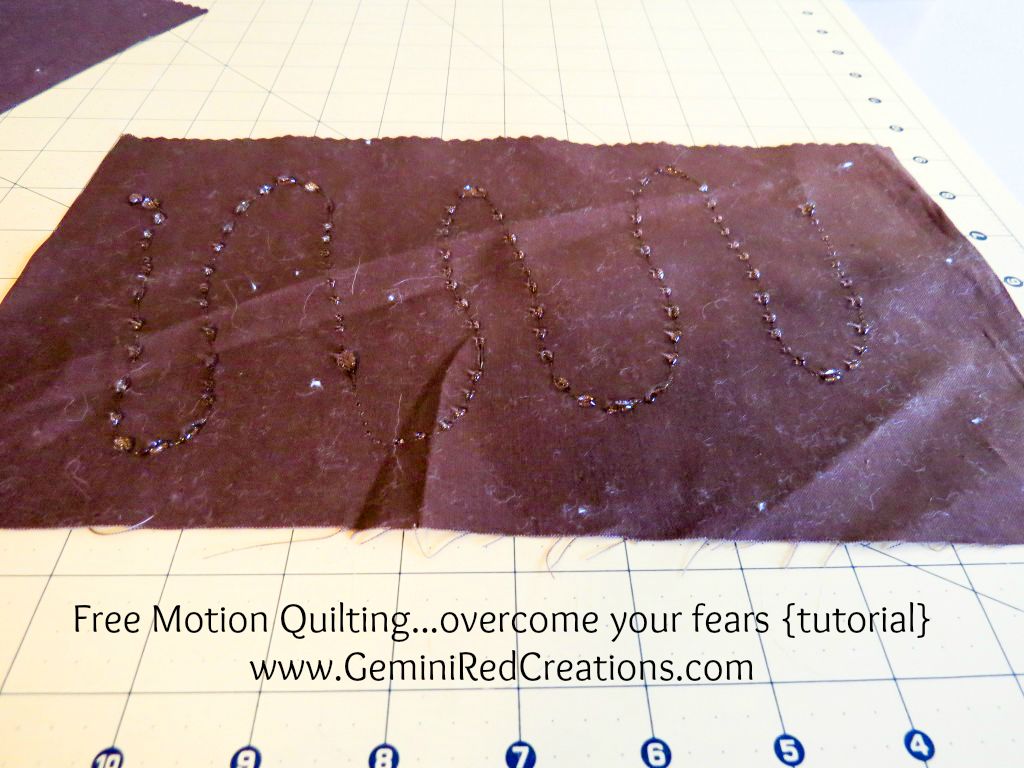
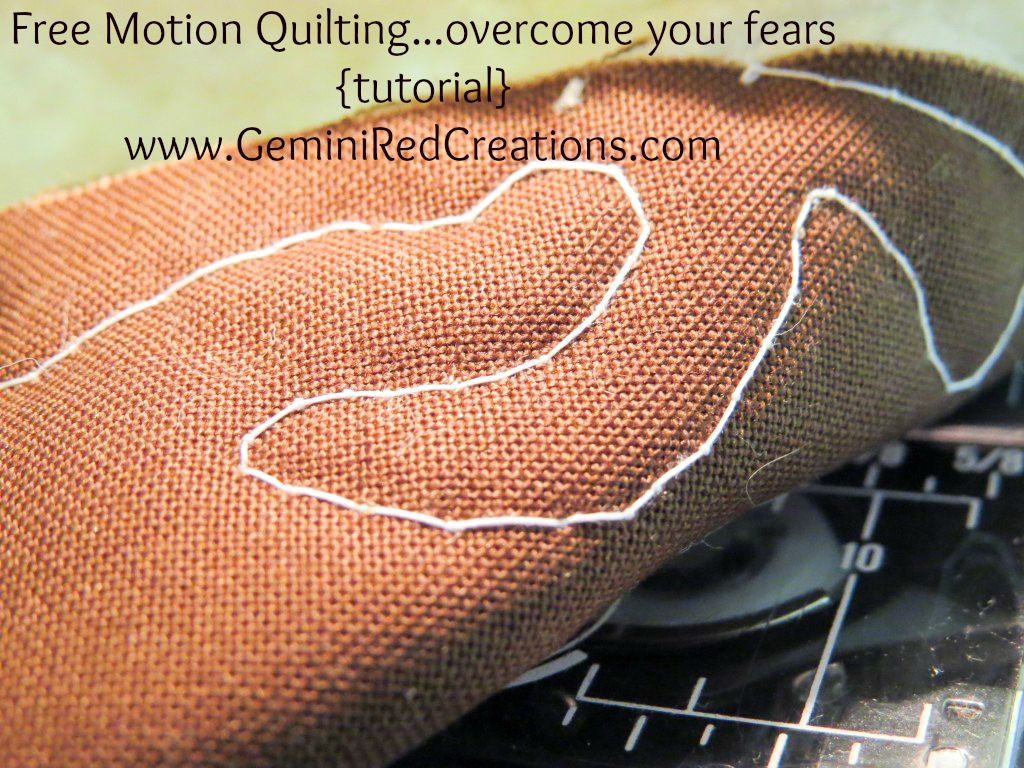
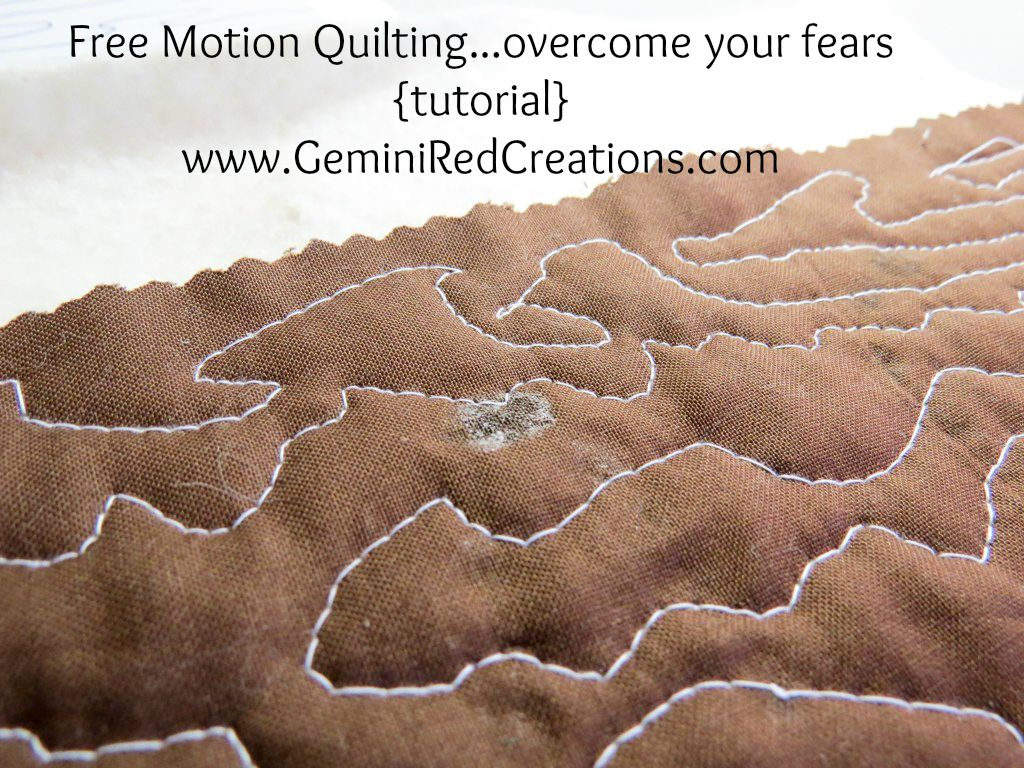
You can see the first attempt is a little loose. This one is better. My settings ended up being Stitch length of 2.2, bobbin tension at 8. It takes some practice to find what you are hoping for with regard to stitch length and design.
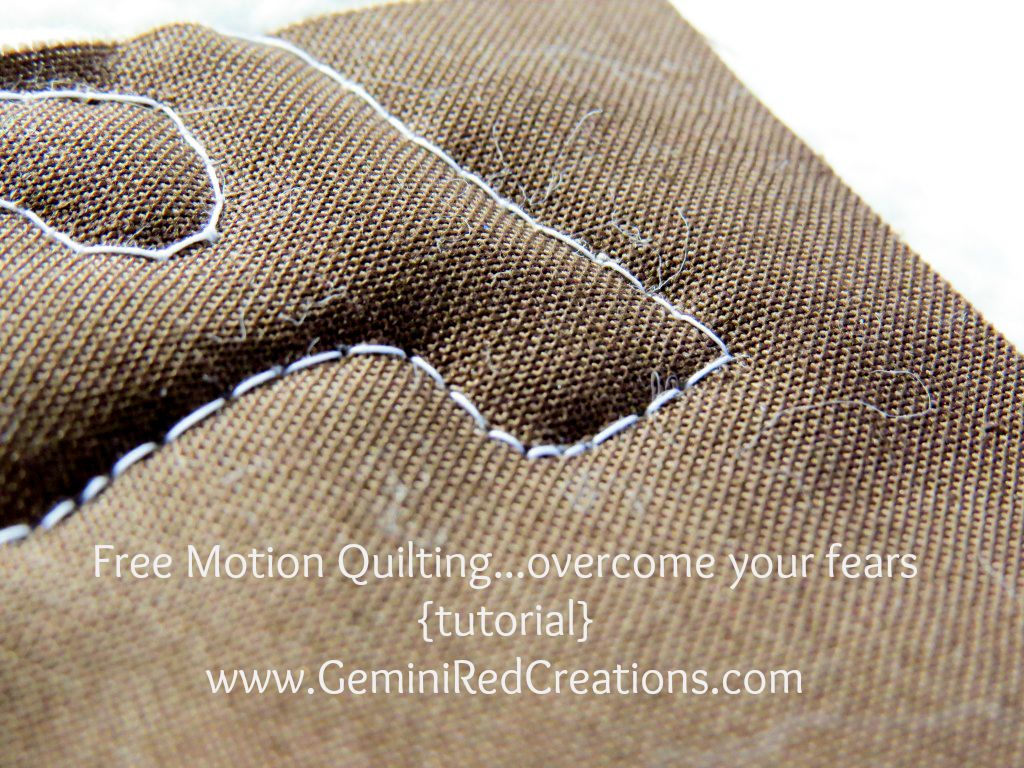
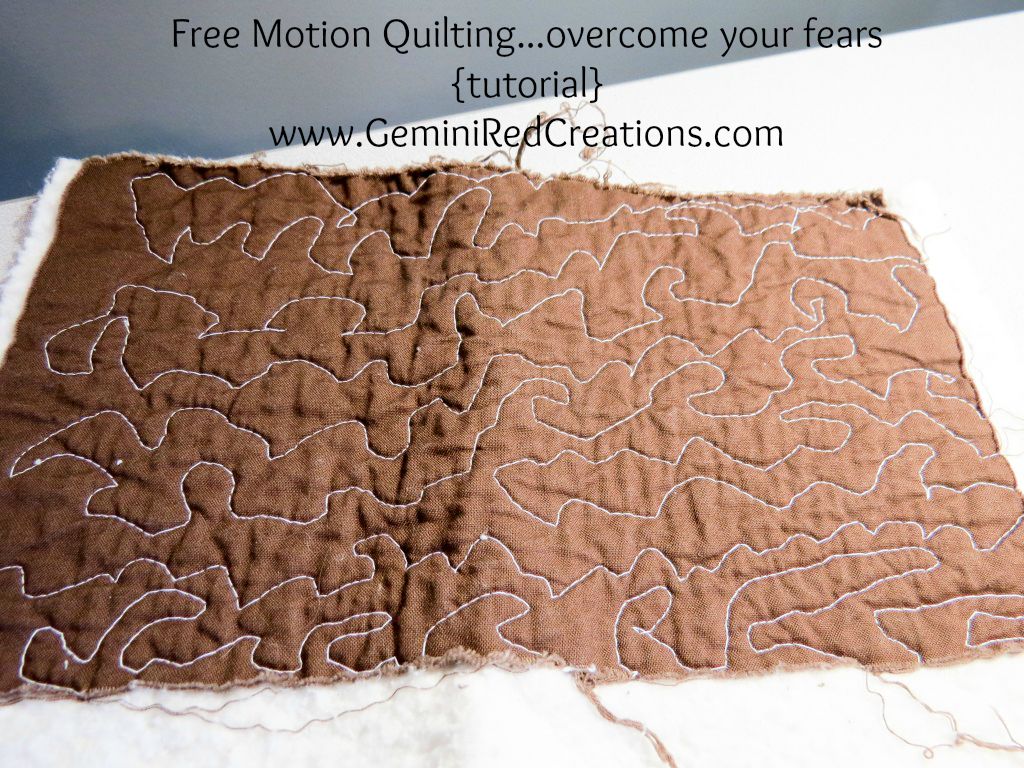
This is my finished test. Ok, it does not look exactly like what I was going for, but it’s great for the first time!
Now I was worried about the dried spots from the glue, see the spot? So I washed my scrap sandwich to see if it came out.
And look, it dried and it’s not visible at all!
Now, are you ready to start practicing so you can overcome your fear of Free Motion Quilting?